Exploring the Deferred Renderer in Unreal Engine
I've been exploring Unreal Engine's deferred renderer, especially as I started experimenting with adding a toon shader. The deferred renderer in Unreal Engine is fascinating and offers numerous possibilities for rendering high-quality visuals efficiently. Let’s dive into how it works and my findings from implementing a toon shader.
Understanding the Deferred Renderer
Deferred rendering is a technique used in Unreal Engine to handle complex lighting scenarios efficiently. Unlike forward rendering, which computes lighting for each object as it is rendered, deferred rendering separates the rendering process into two main stages:
- G-Buffer Pass: During this stage, the material properties of all visible objects are rendered into several textures called G-Buffers. These include information such as world normals, diffuse color, specular color, and depth.
- Lighting Pass: In this stage, lighting calculations are applied to the G-Buffer data to produce the final image.
This method allows for a high number of dynamic lights and complex shading models without a significant performance hit.
Key G-Buffer Passes
Here are some of the critical passes in the G-Buffer:
-
World Normal:
const float3 N = GBuffer.WorldNormal;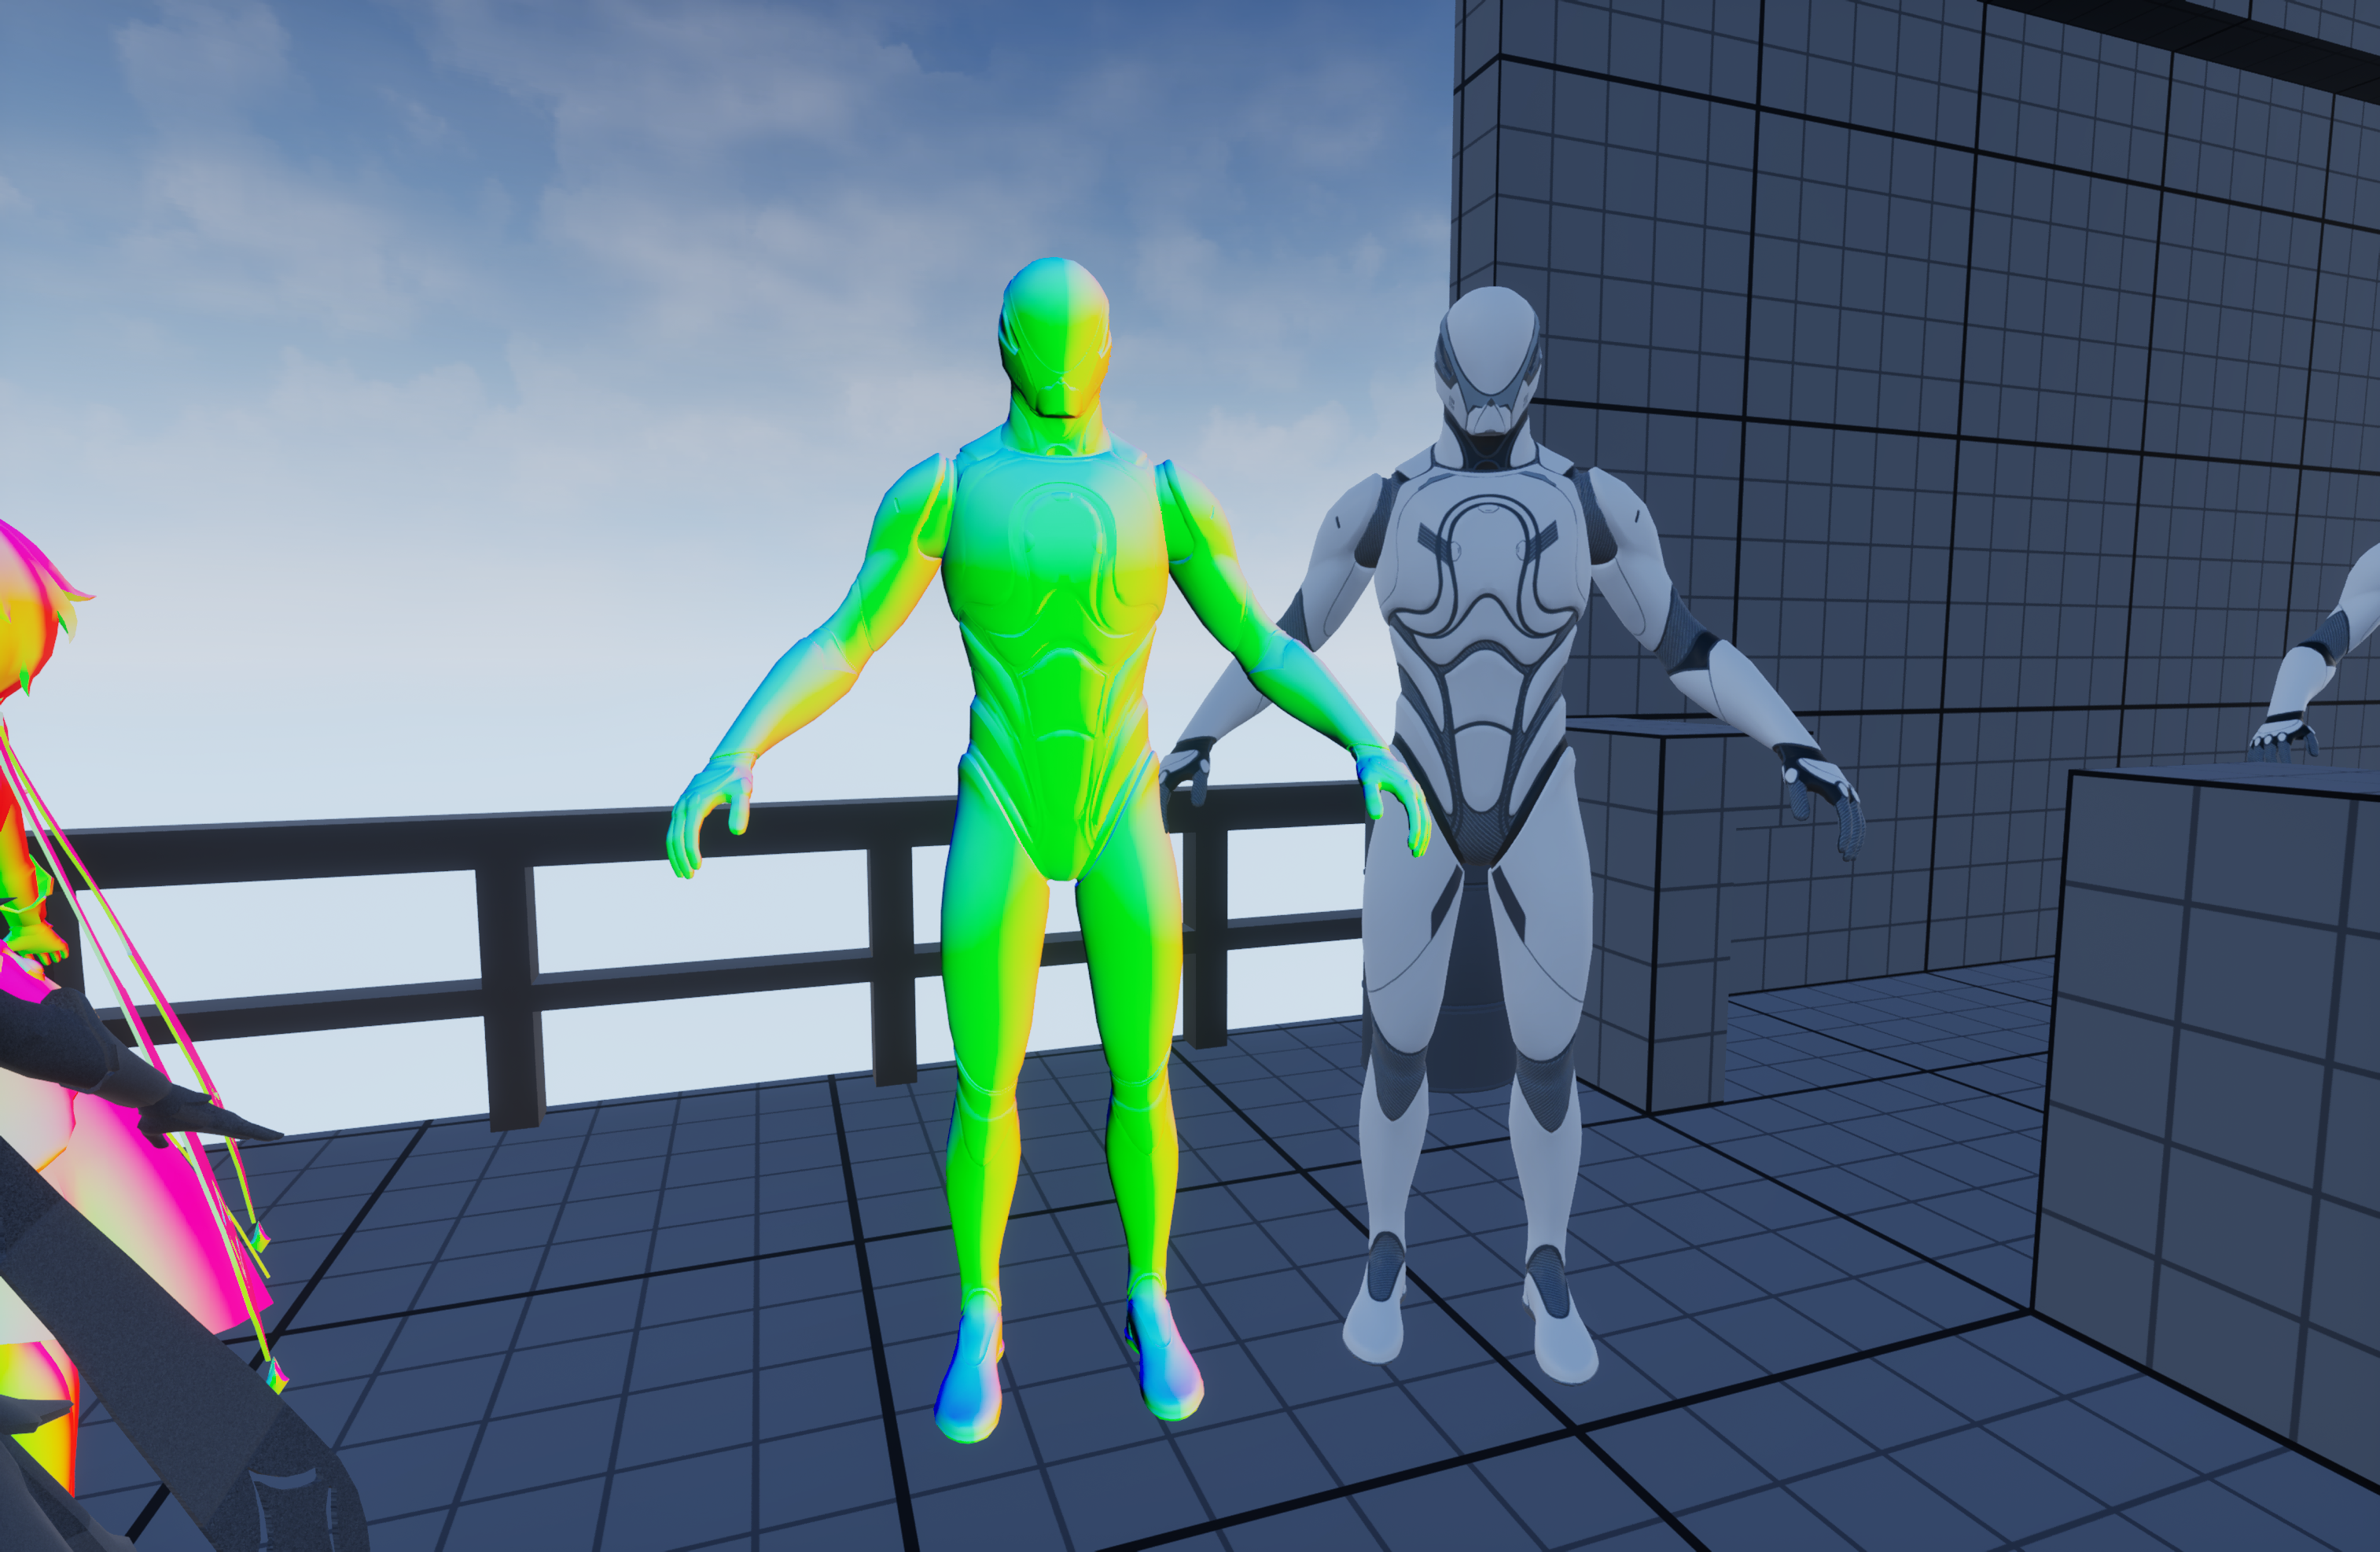
-
View Vector (V):
const float3 V = -normalize(mul(float3(ScreenPosition, 1), DFToFloat3x3(PrimaryView.ScreenToWorld)).xyz);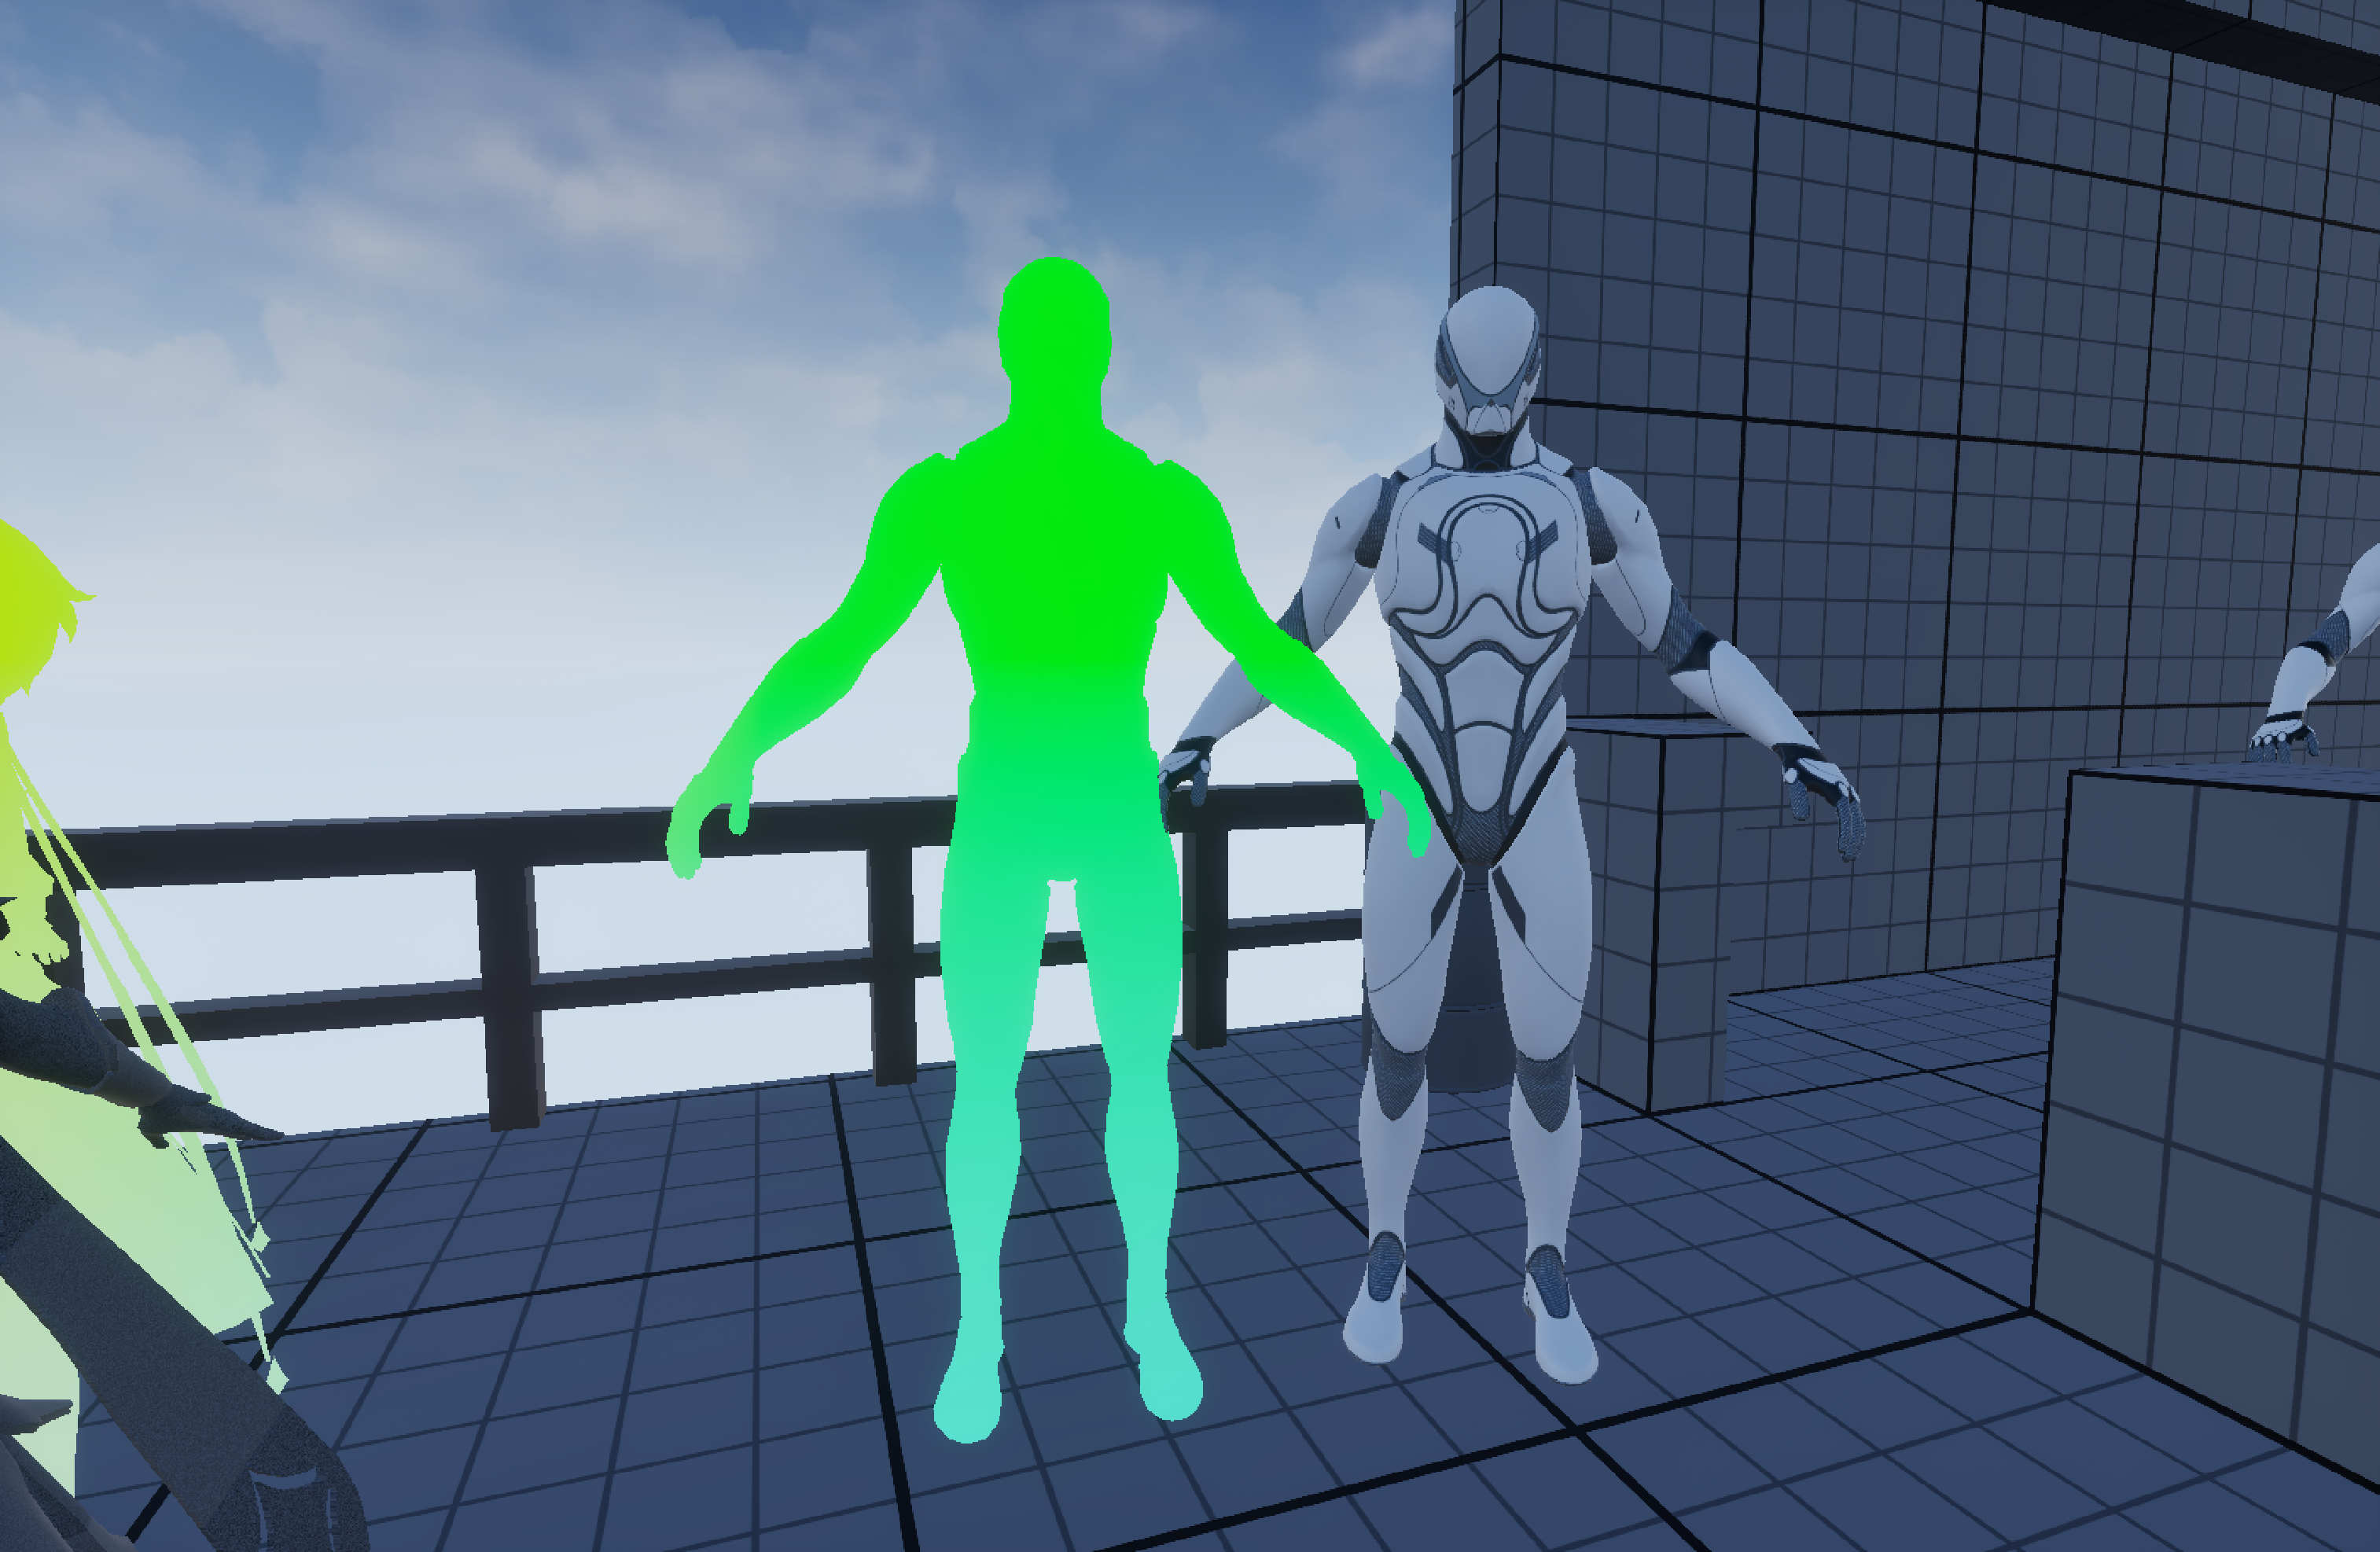
-
NoV (dot product of View Vector and World Normal):
const float NoV = saturate(dot(V, N));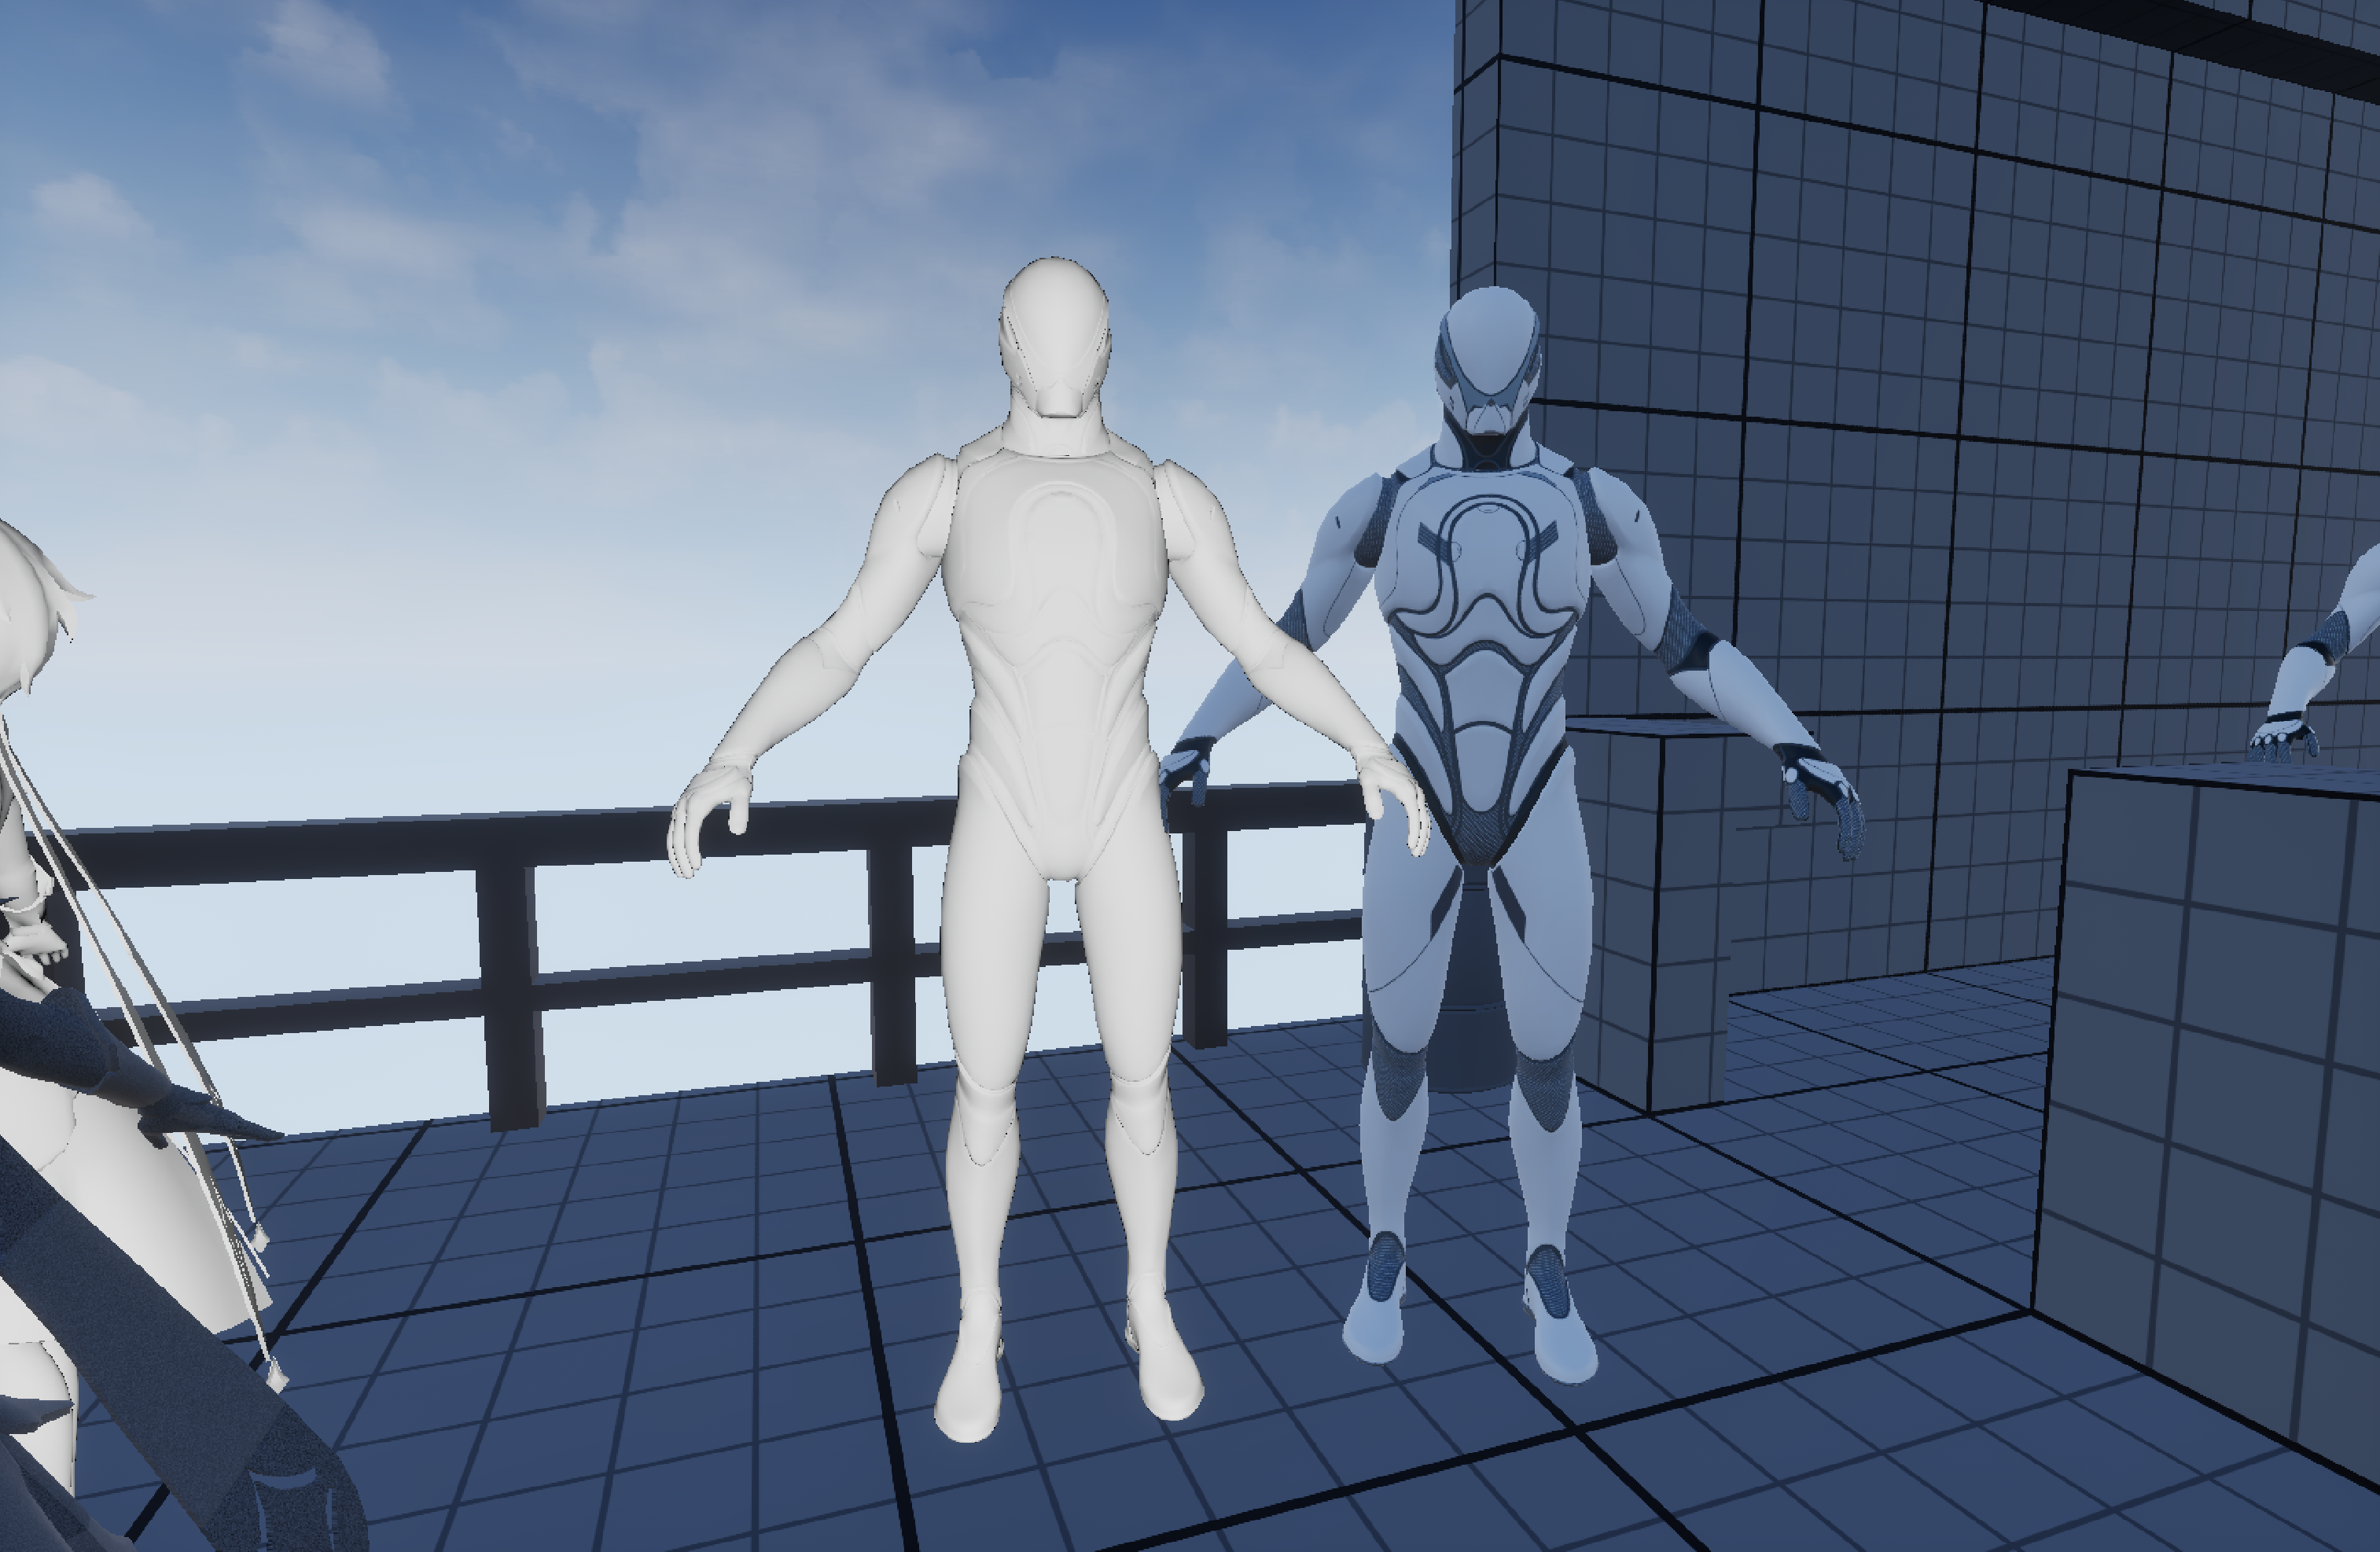
Experimenting with Toon Shading
I aimed to implement a toon shader without relying on post-process effects or using custom depth as a mask. Instead, I used material IDs to better control which objects should receive toon shading. Here’s a breakdown of my approach:
Deferred Light Pass
The main function for the deferred light pass is DeferredLightPixelMain(), located in the DeferredLightPixelShaders.usf file. This function is responsible for calculating dynamic lighting using various helper functions.
// DeferredLightPixelShaders.usf
void DeferredLightPixelMain(
#if LIGHT_SOURCE_SHAPE > 0
  float4 InScreenPosition : TEXCOORD0,
#else
  float2 ScreenUV         : TEXCOORD0,
  float3 ScreenVector     : TEXCOORD1,
#endif
  // [...]
)
{
  const float2 PixelPos = SVPos.xy;
  OutColor = 0;
  // [...]
  float SurfaceShadow = 1.0f;
  float4 LightAttenuation = GetLightAttenuationFromShadow(InputParams, SceneDepth);
  float4 Radiance = GetDynamicLighting(DerivedParams.TranslatedWorldPosition, DerivedParams.CameraVector, ScreenSpaceData.GBuffer, ScreenSpaceData.AmbientOcclusion, ScreenSpaceData.GBuffer.ShadingModelID, LightData, LightAttenuation, Dither, uint2(InputParams.PixelPos), SurfaceShadow);
  OutColor += Radiance;
  // [...]
}
Modifying Lighting for Toon Shading
I experimented with overriding the lighting on characters to achieve a toon shading effect:
-
Unlit Mode:
Lighting.Diffuse = 0;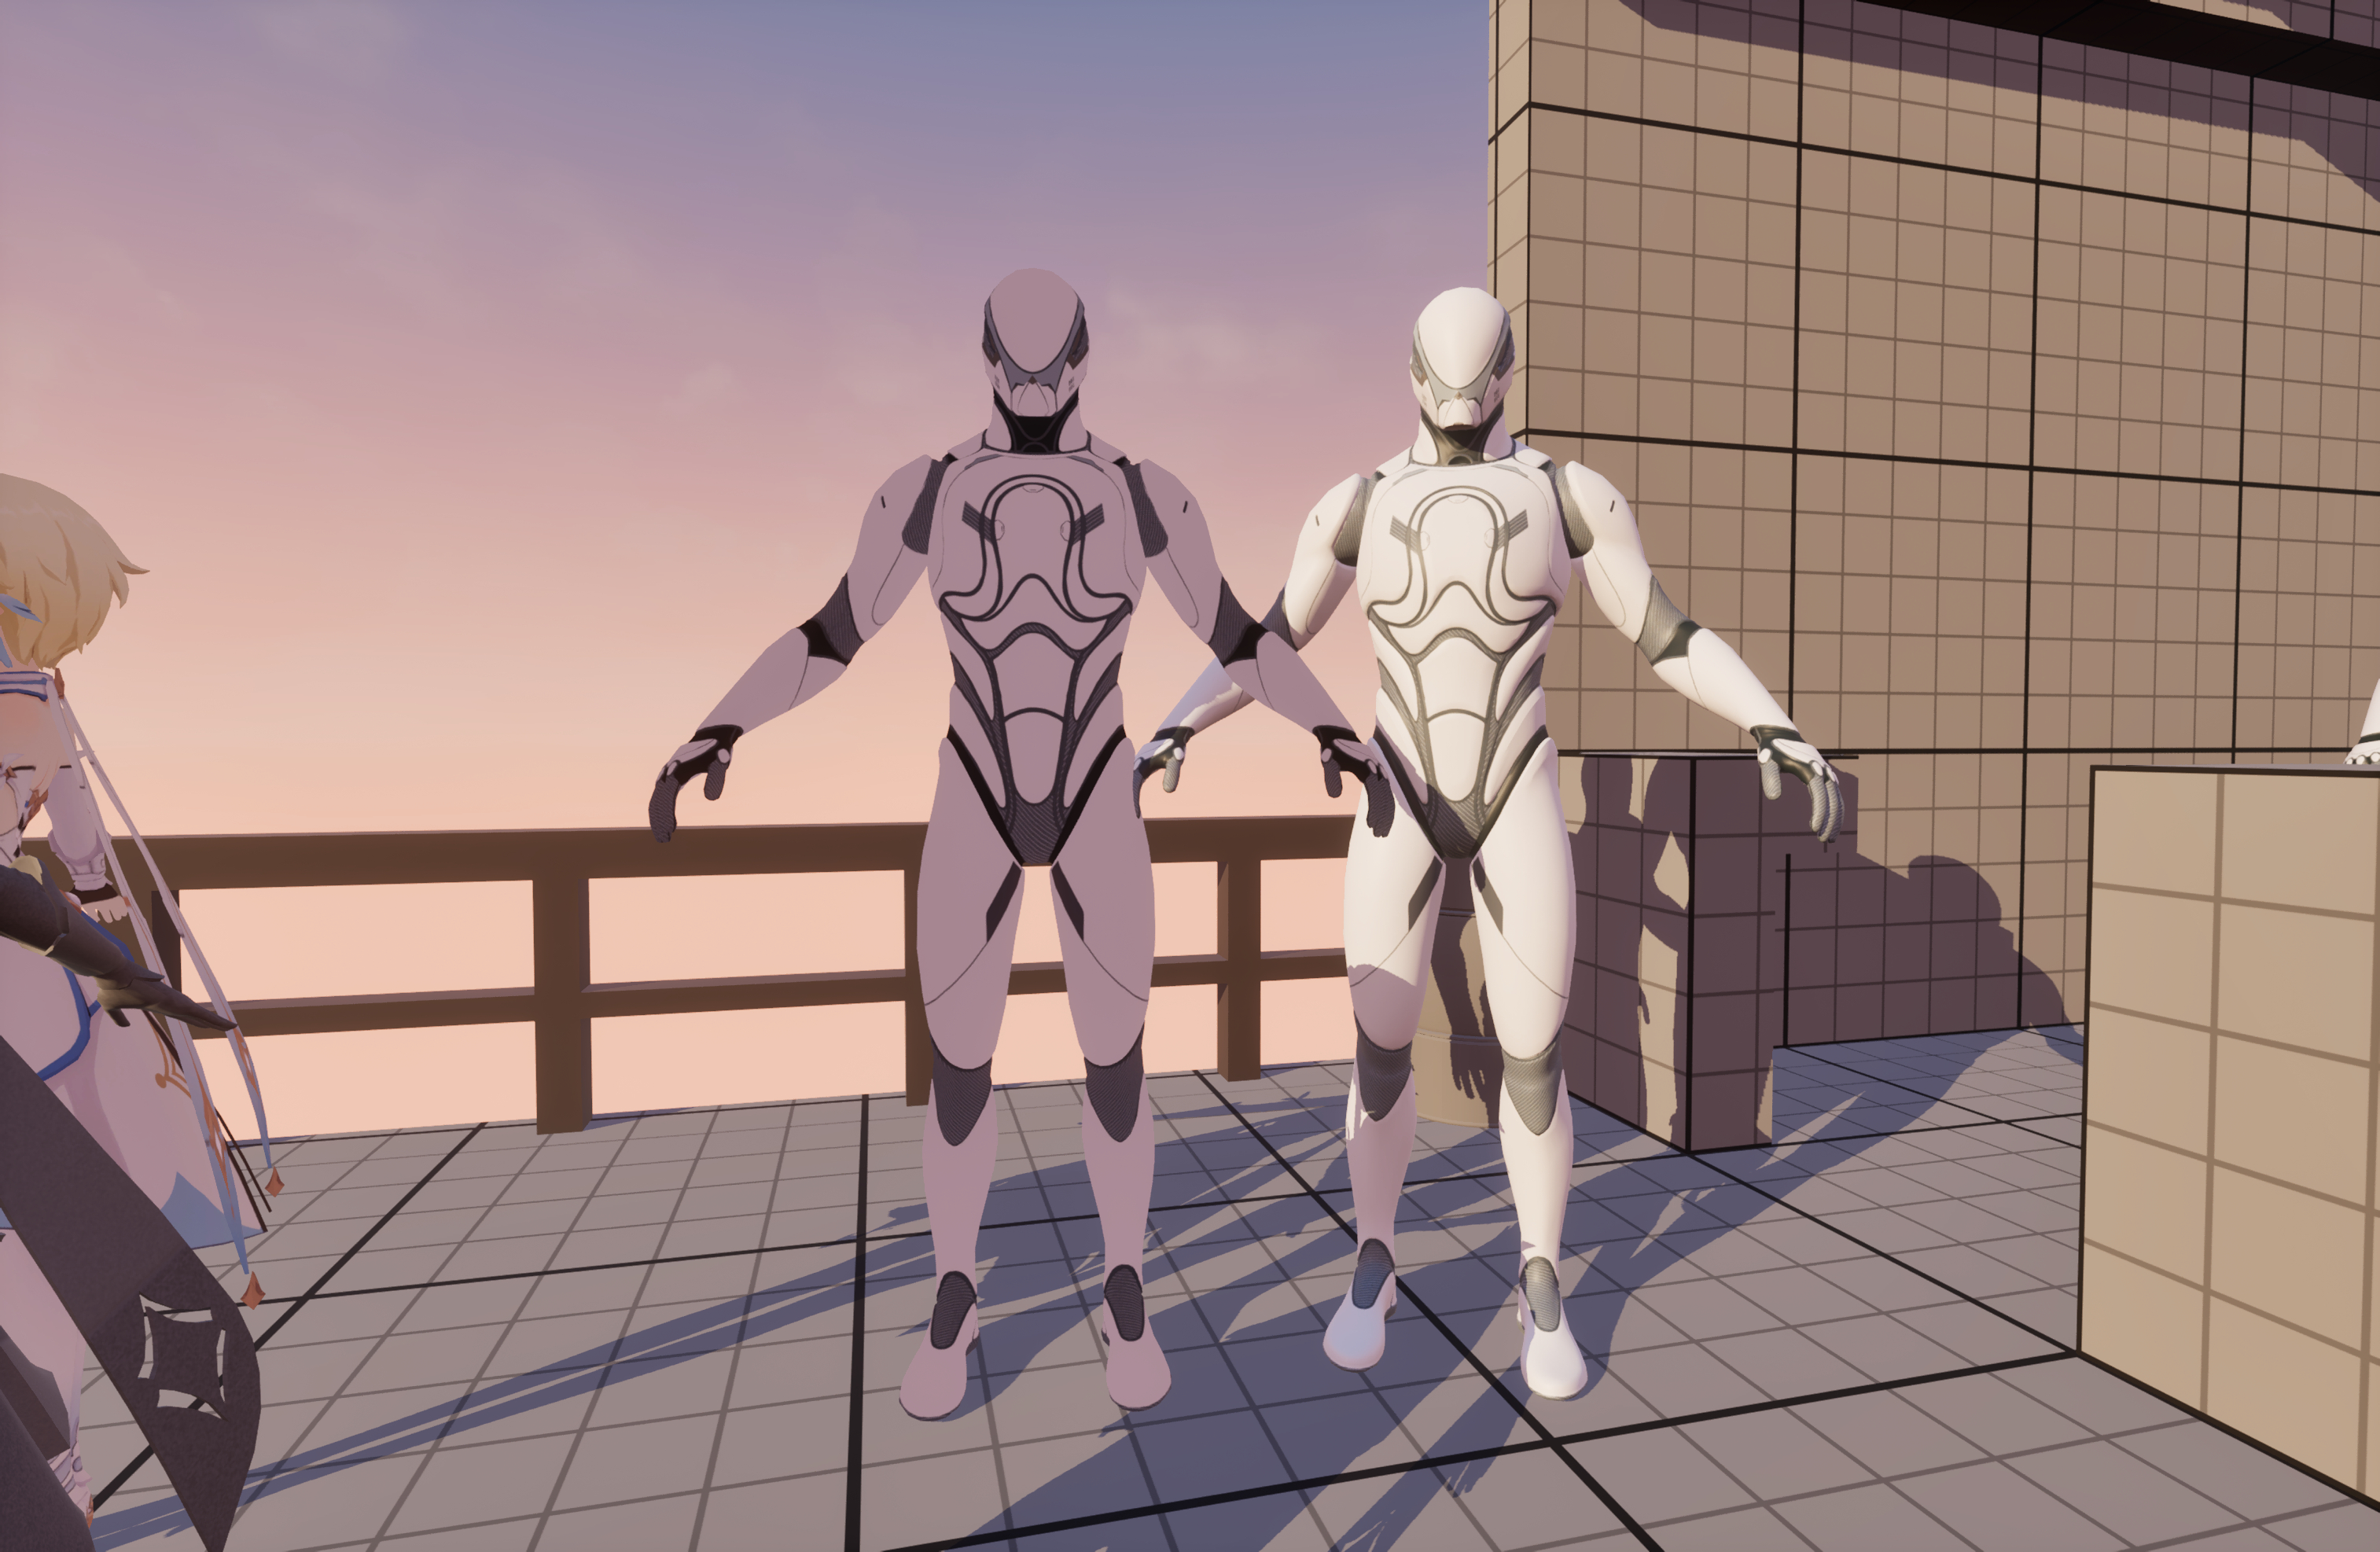
-
Direct Diffuse Color:
Lighting.Diffuse = GBuffer.DiffuseColor;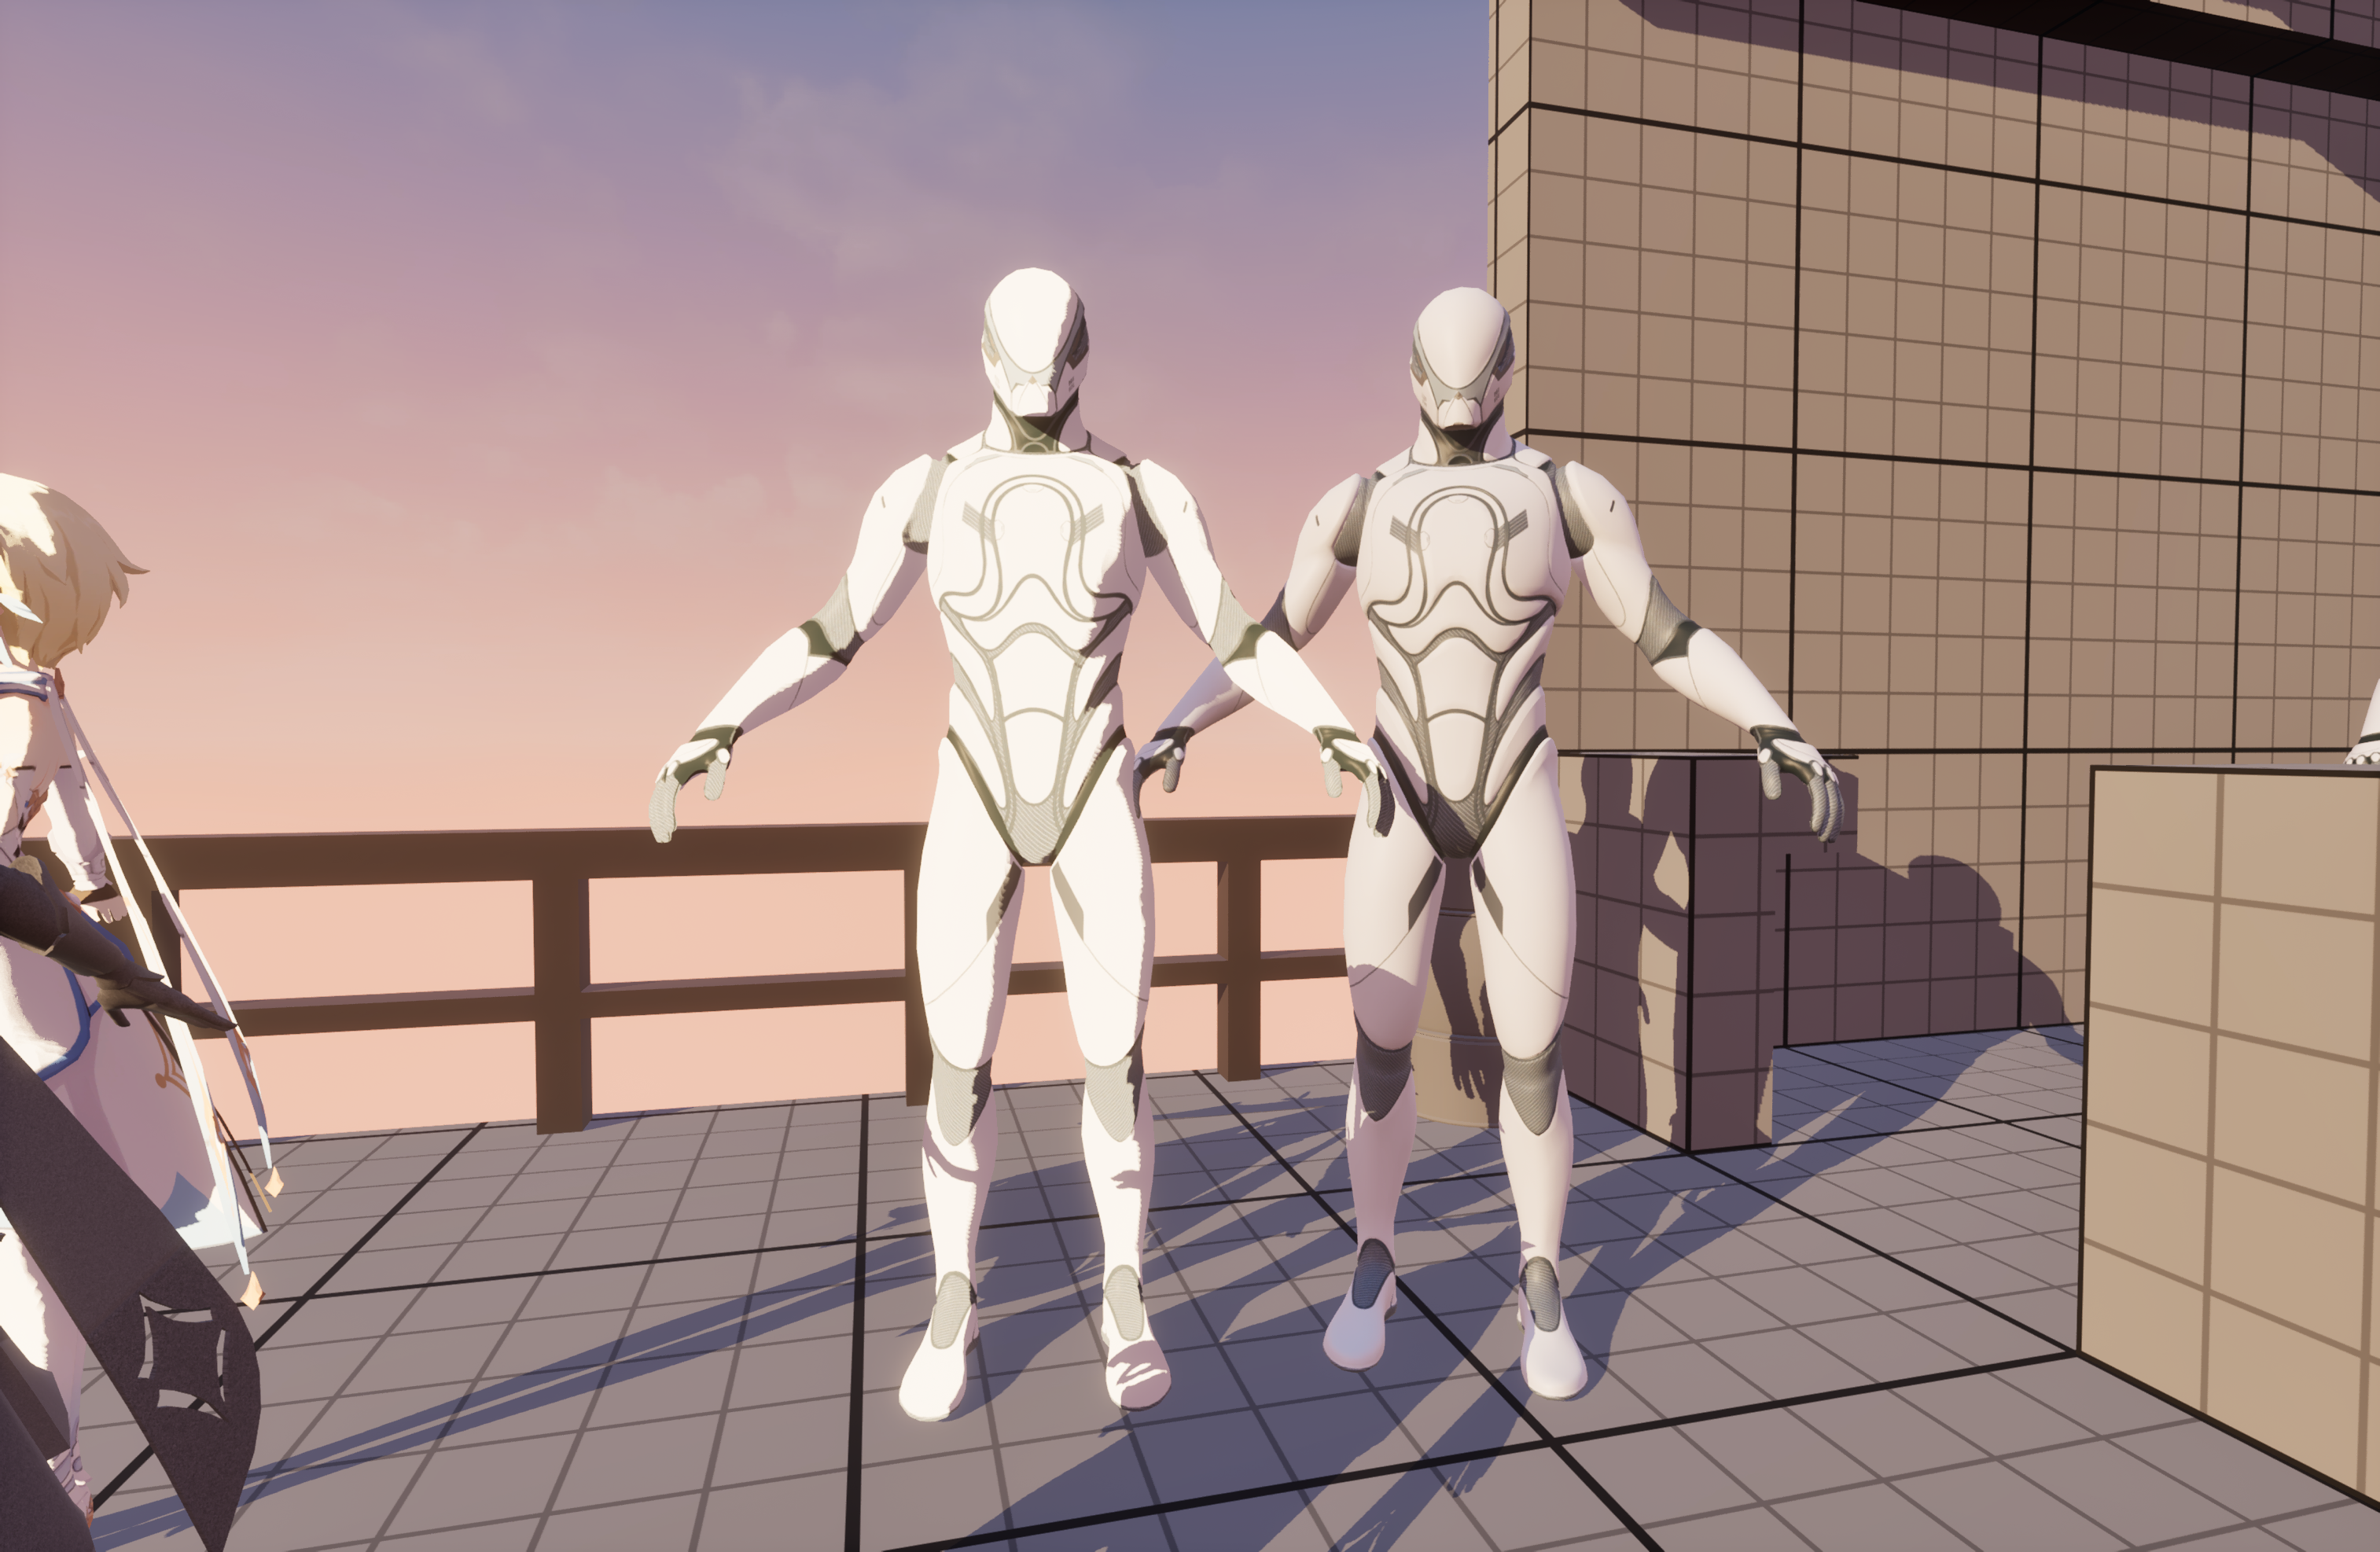
-
Lambertian Shading:
Lighting.Diffuse = Diffuse_Lambert(GBuffer.DiffuseColor);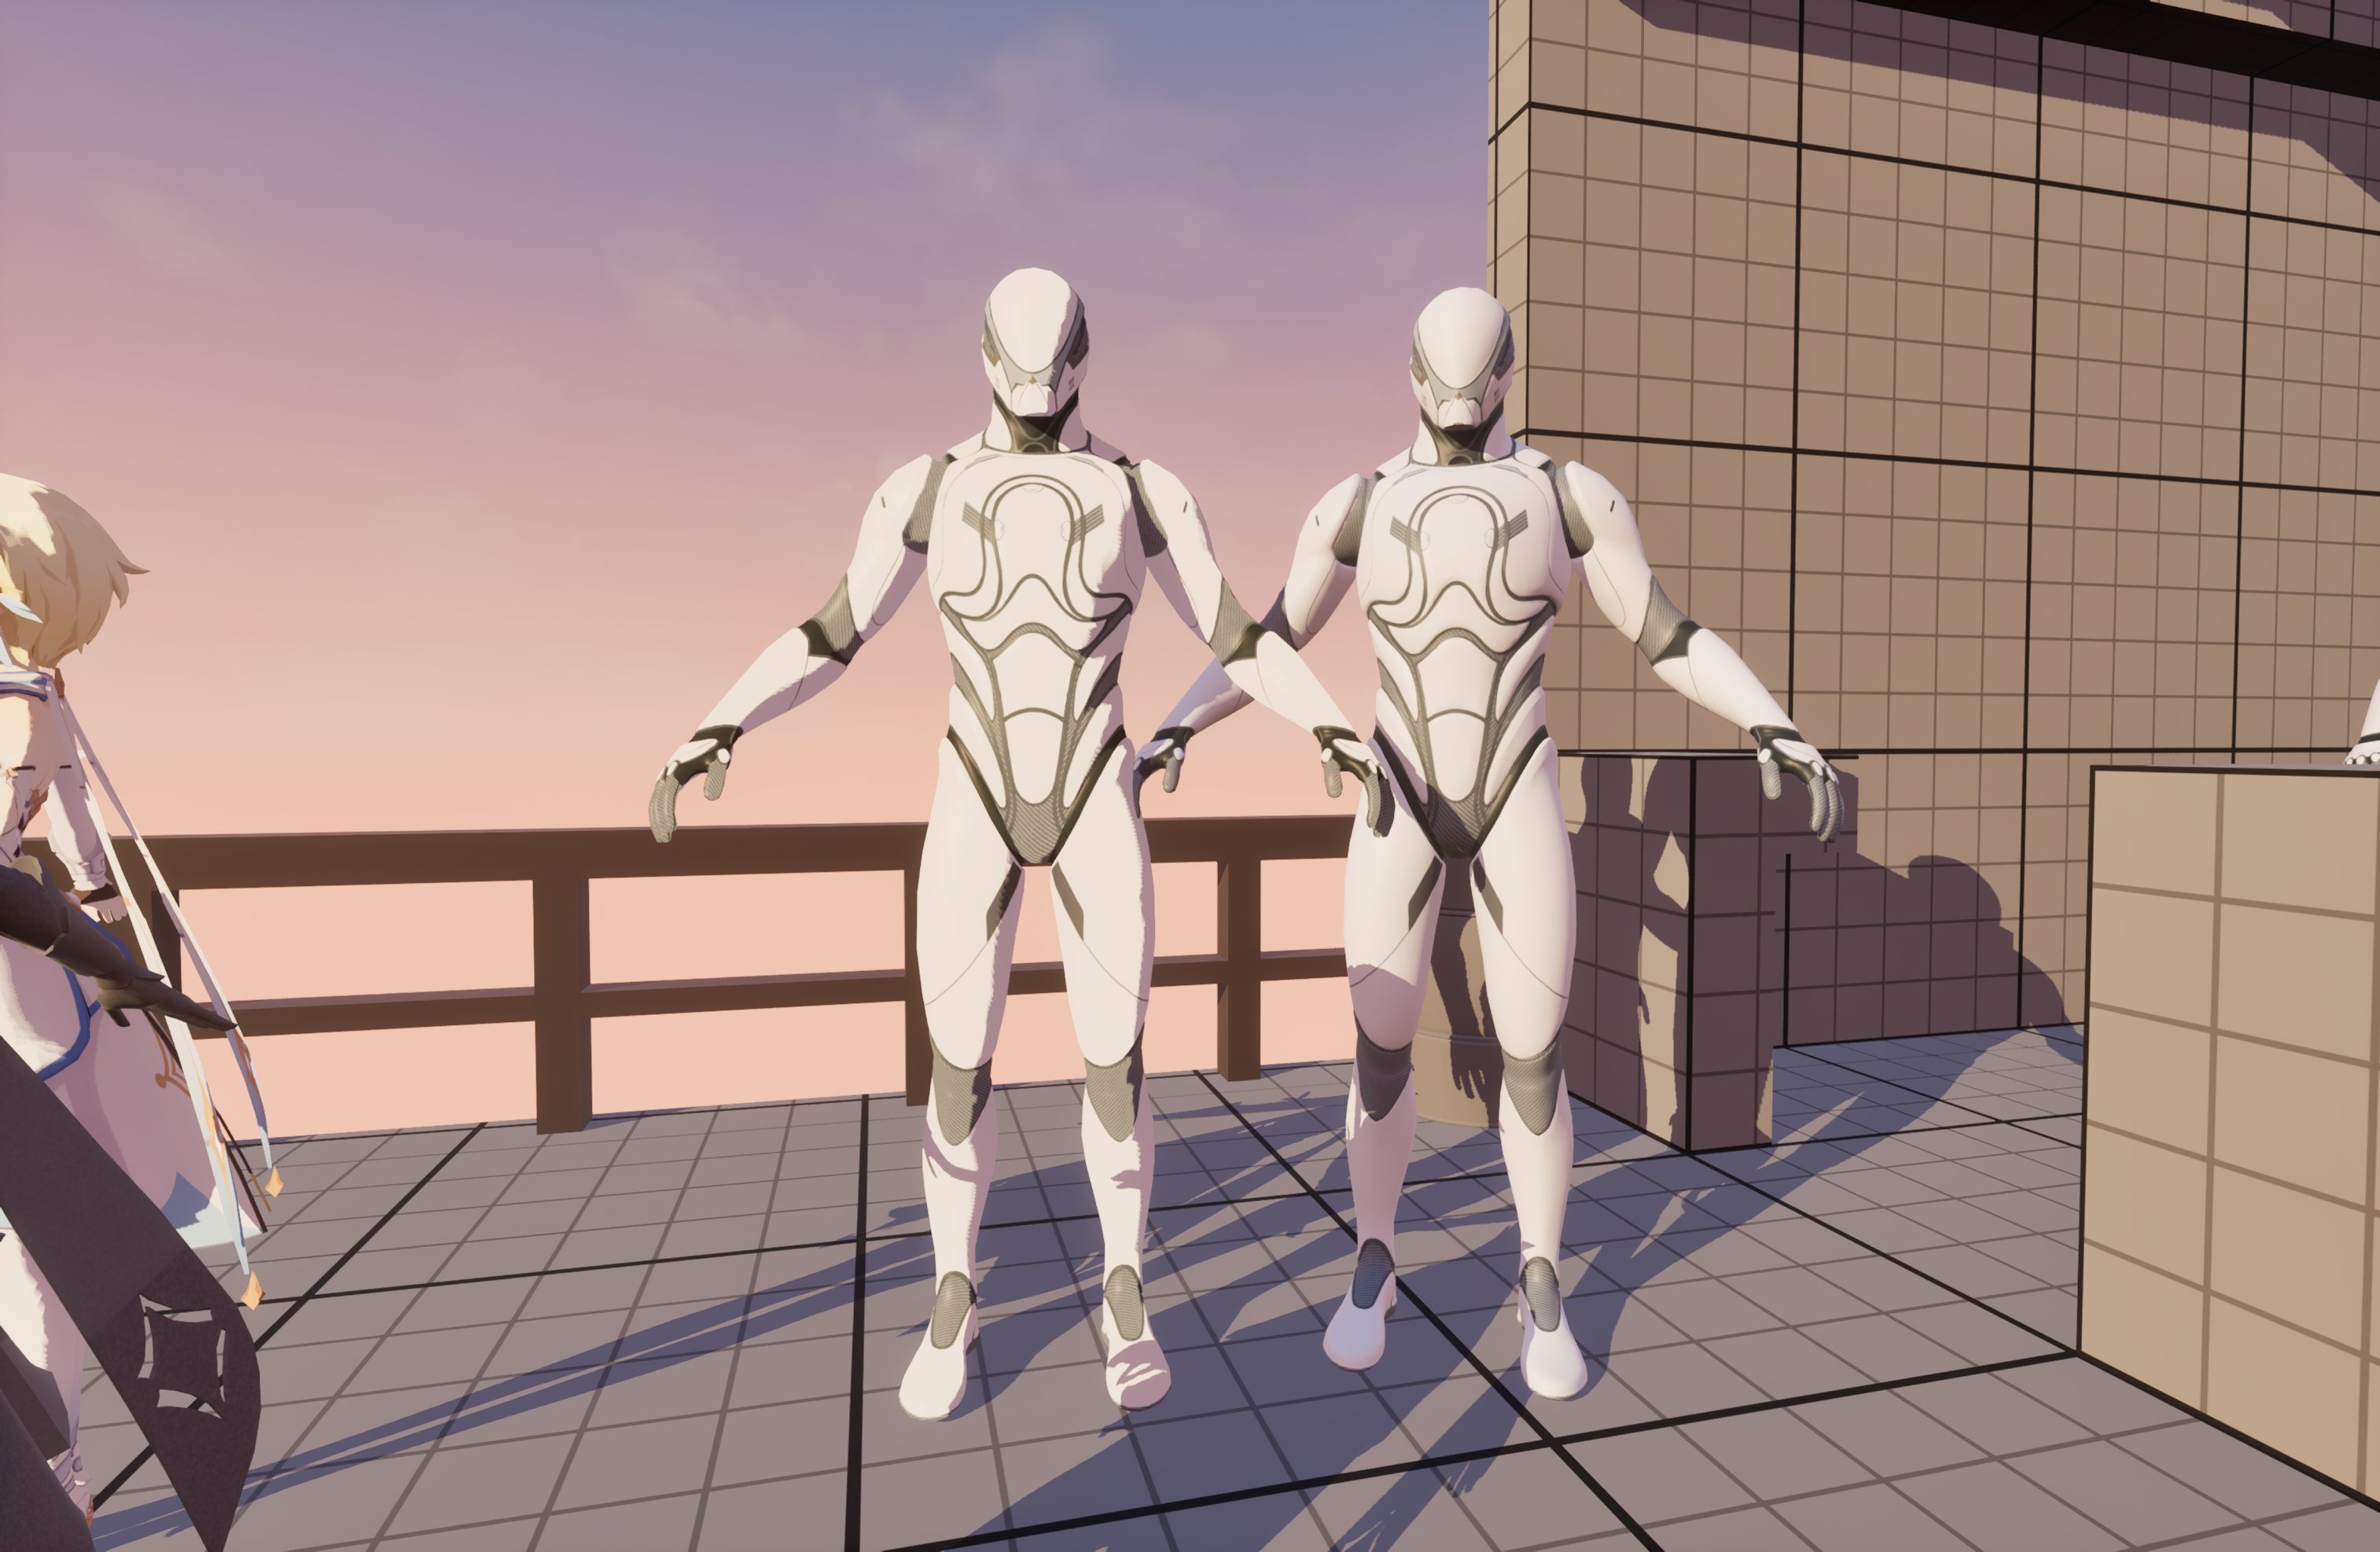
-
Direct Light Color:
Lighting.Diffuse = AreaLight.FalloffColor;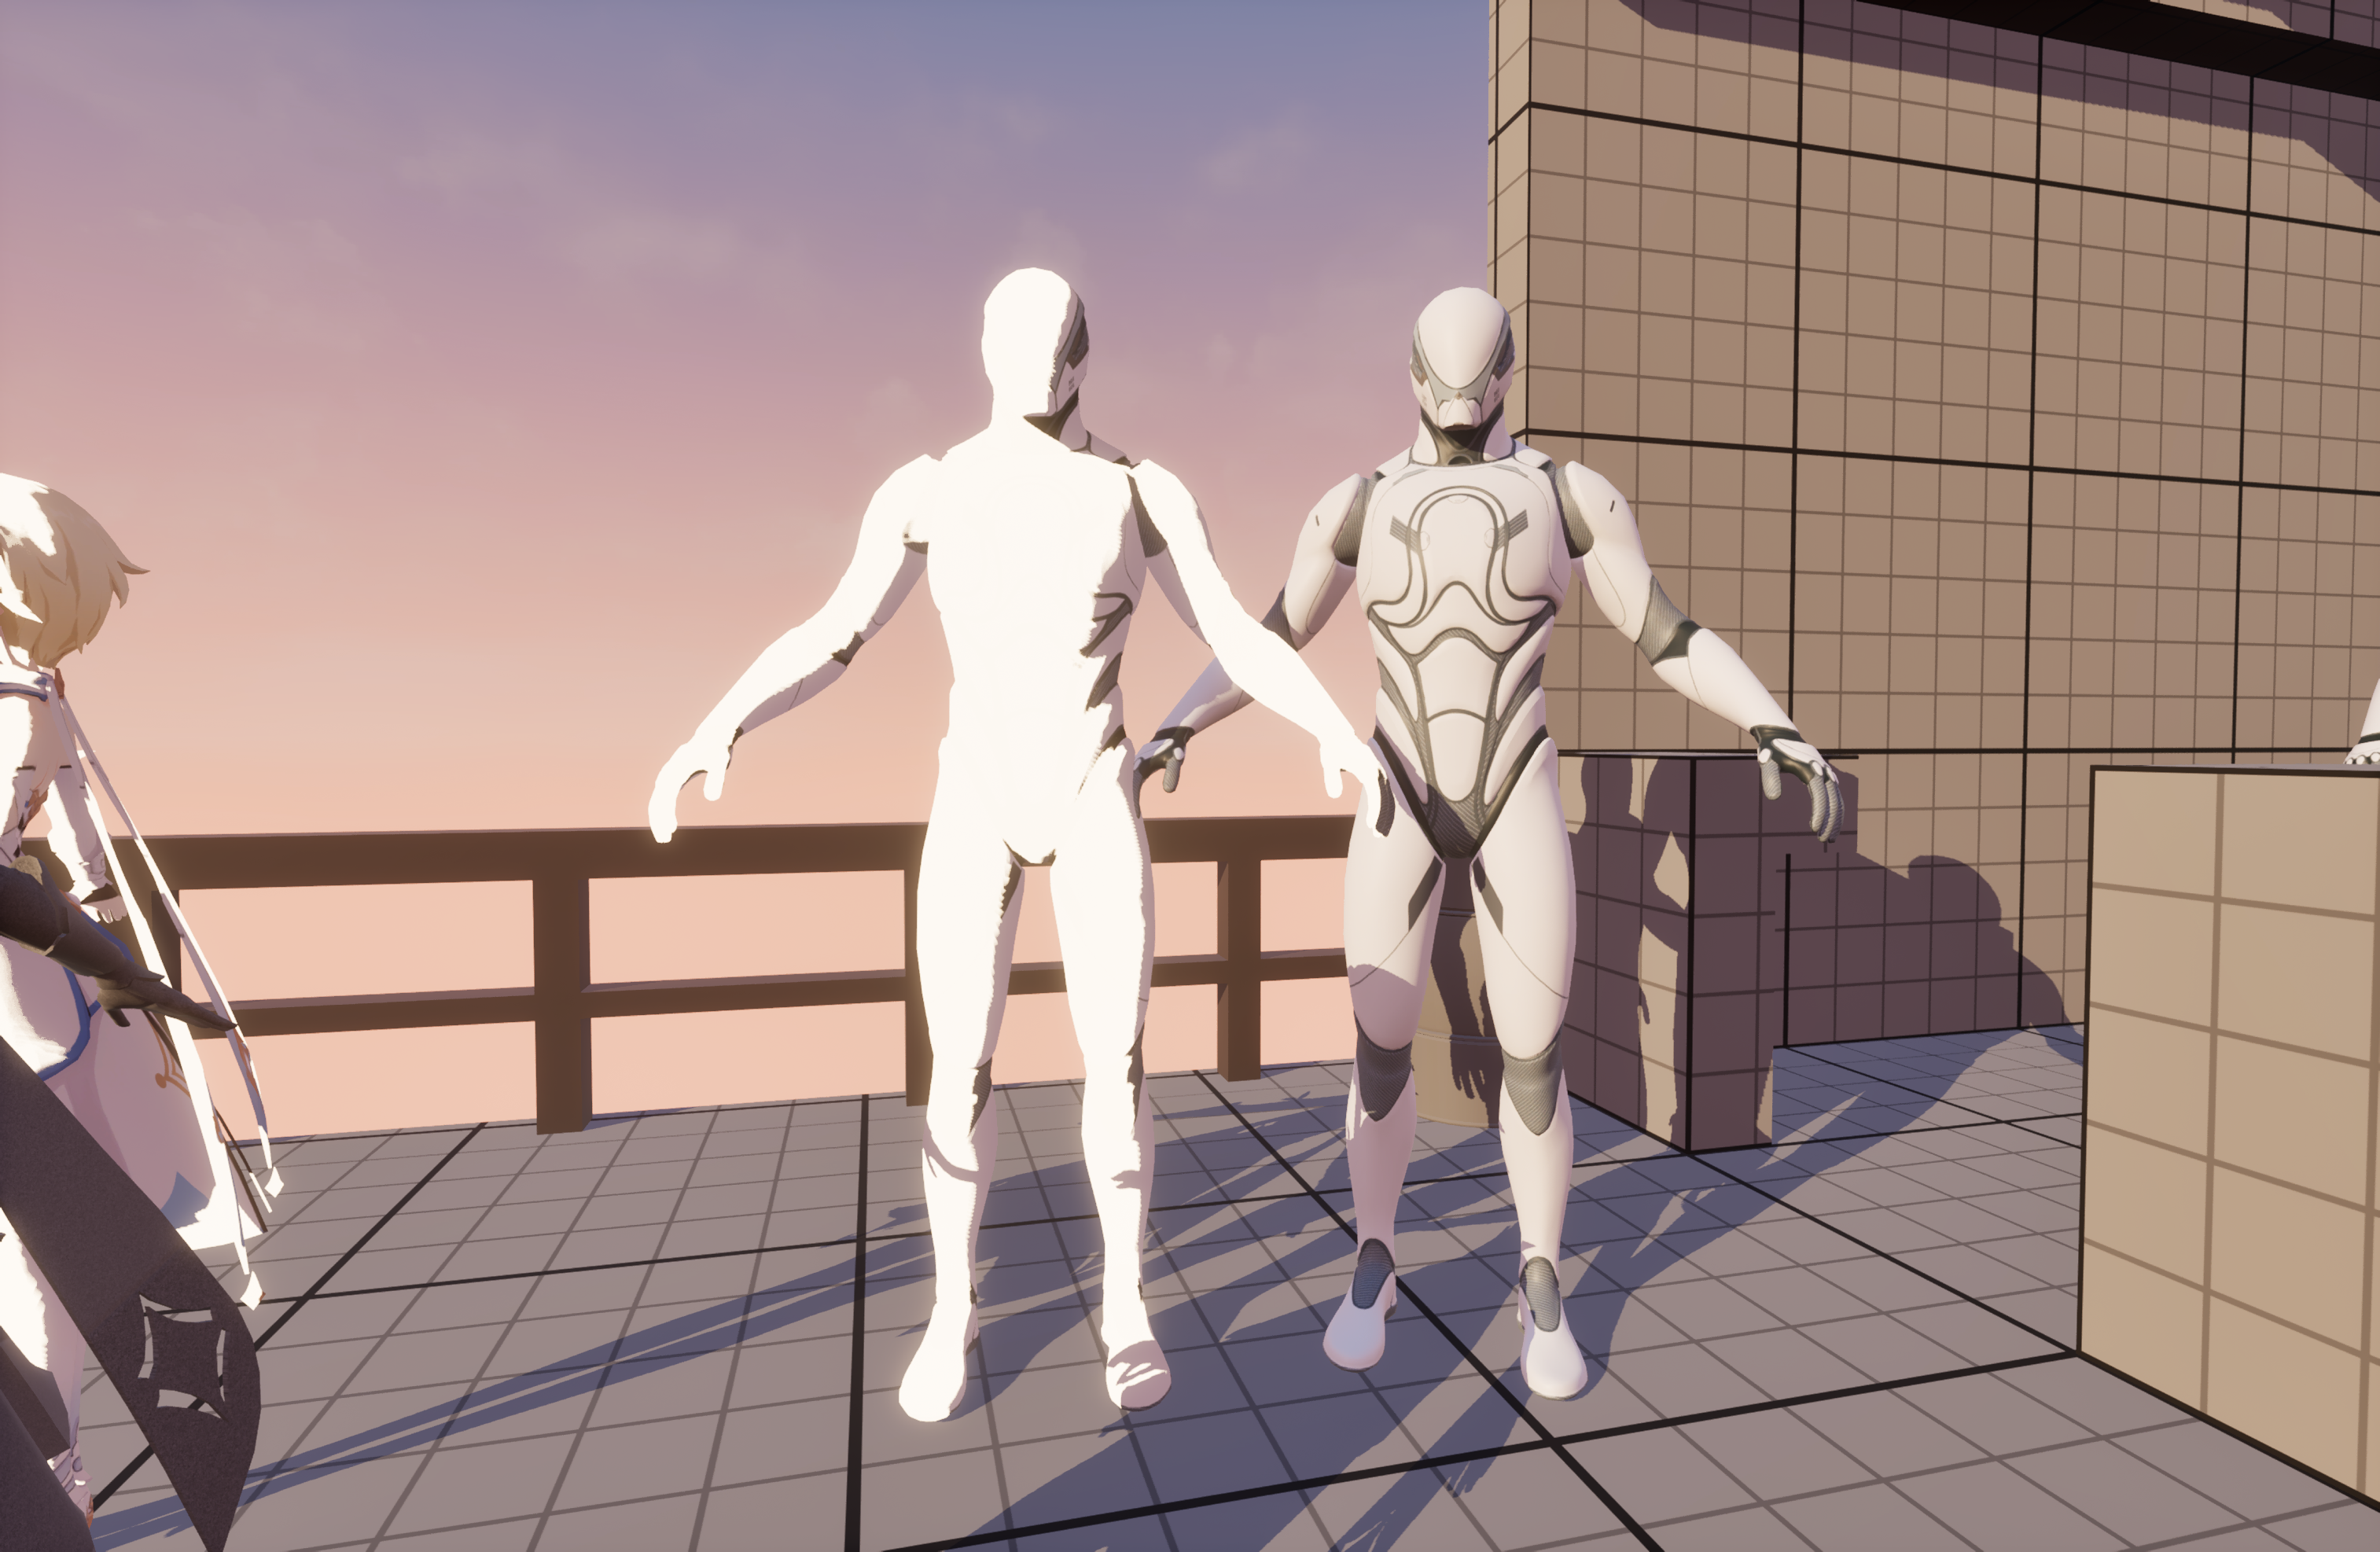
Combining these methods, I was able to calculate lighting and shadow edges differently to achieve a cartoon look. Here’s a preview of the final toon shader with outlines and highlights:
Lighting.Diffuse = Diffuse_Lambert(GBuffer.DiffuseColor);
Lighting.Diffuse *= AreaLight.FalloffColor * (Falloff * saturate(floor((NoL) / 0.0001 /*max(0.0001f, GBuffer.CustomData.a)*/)));
Open ScreenShot00082.png
ScreenShot00082.png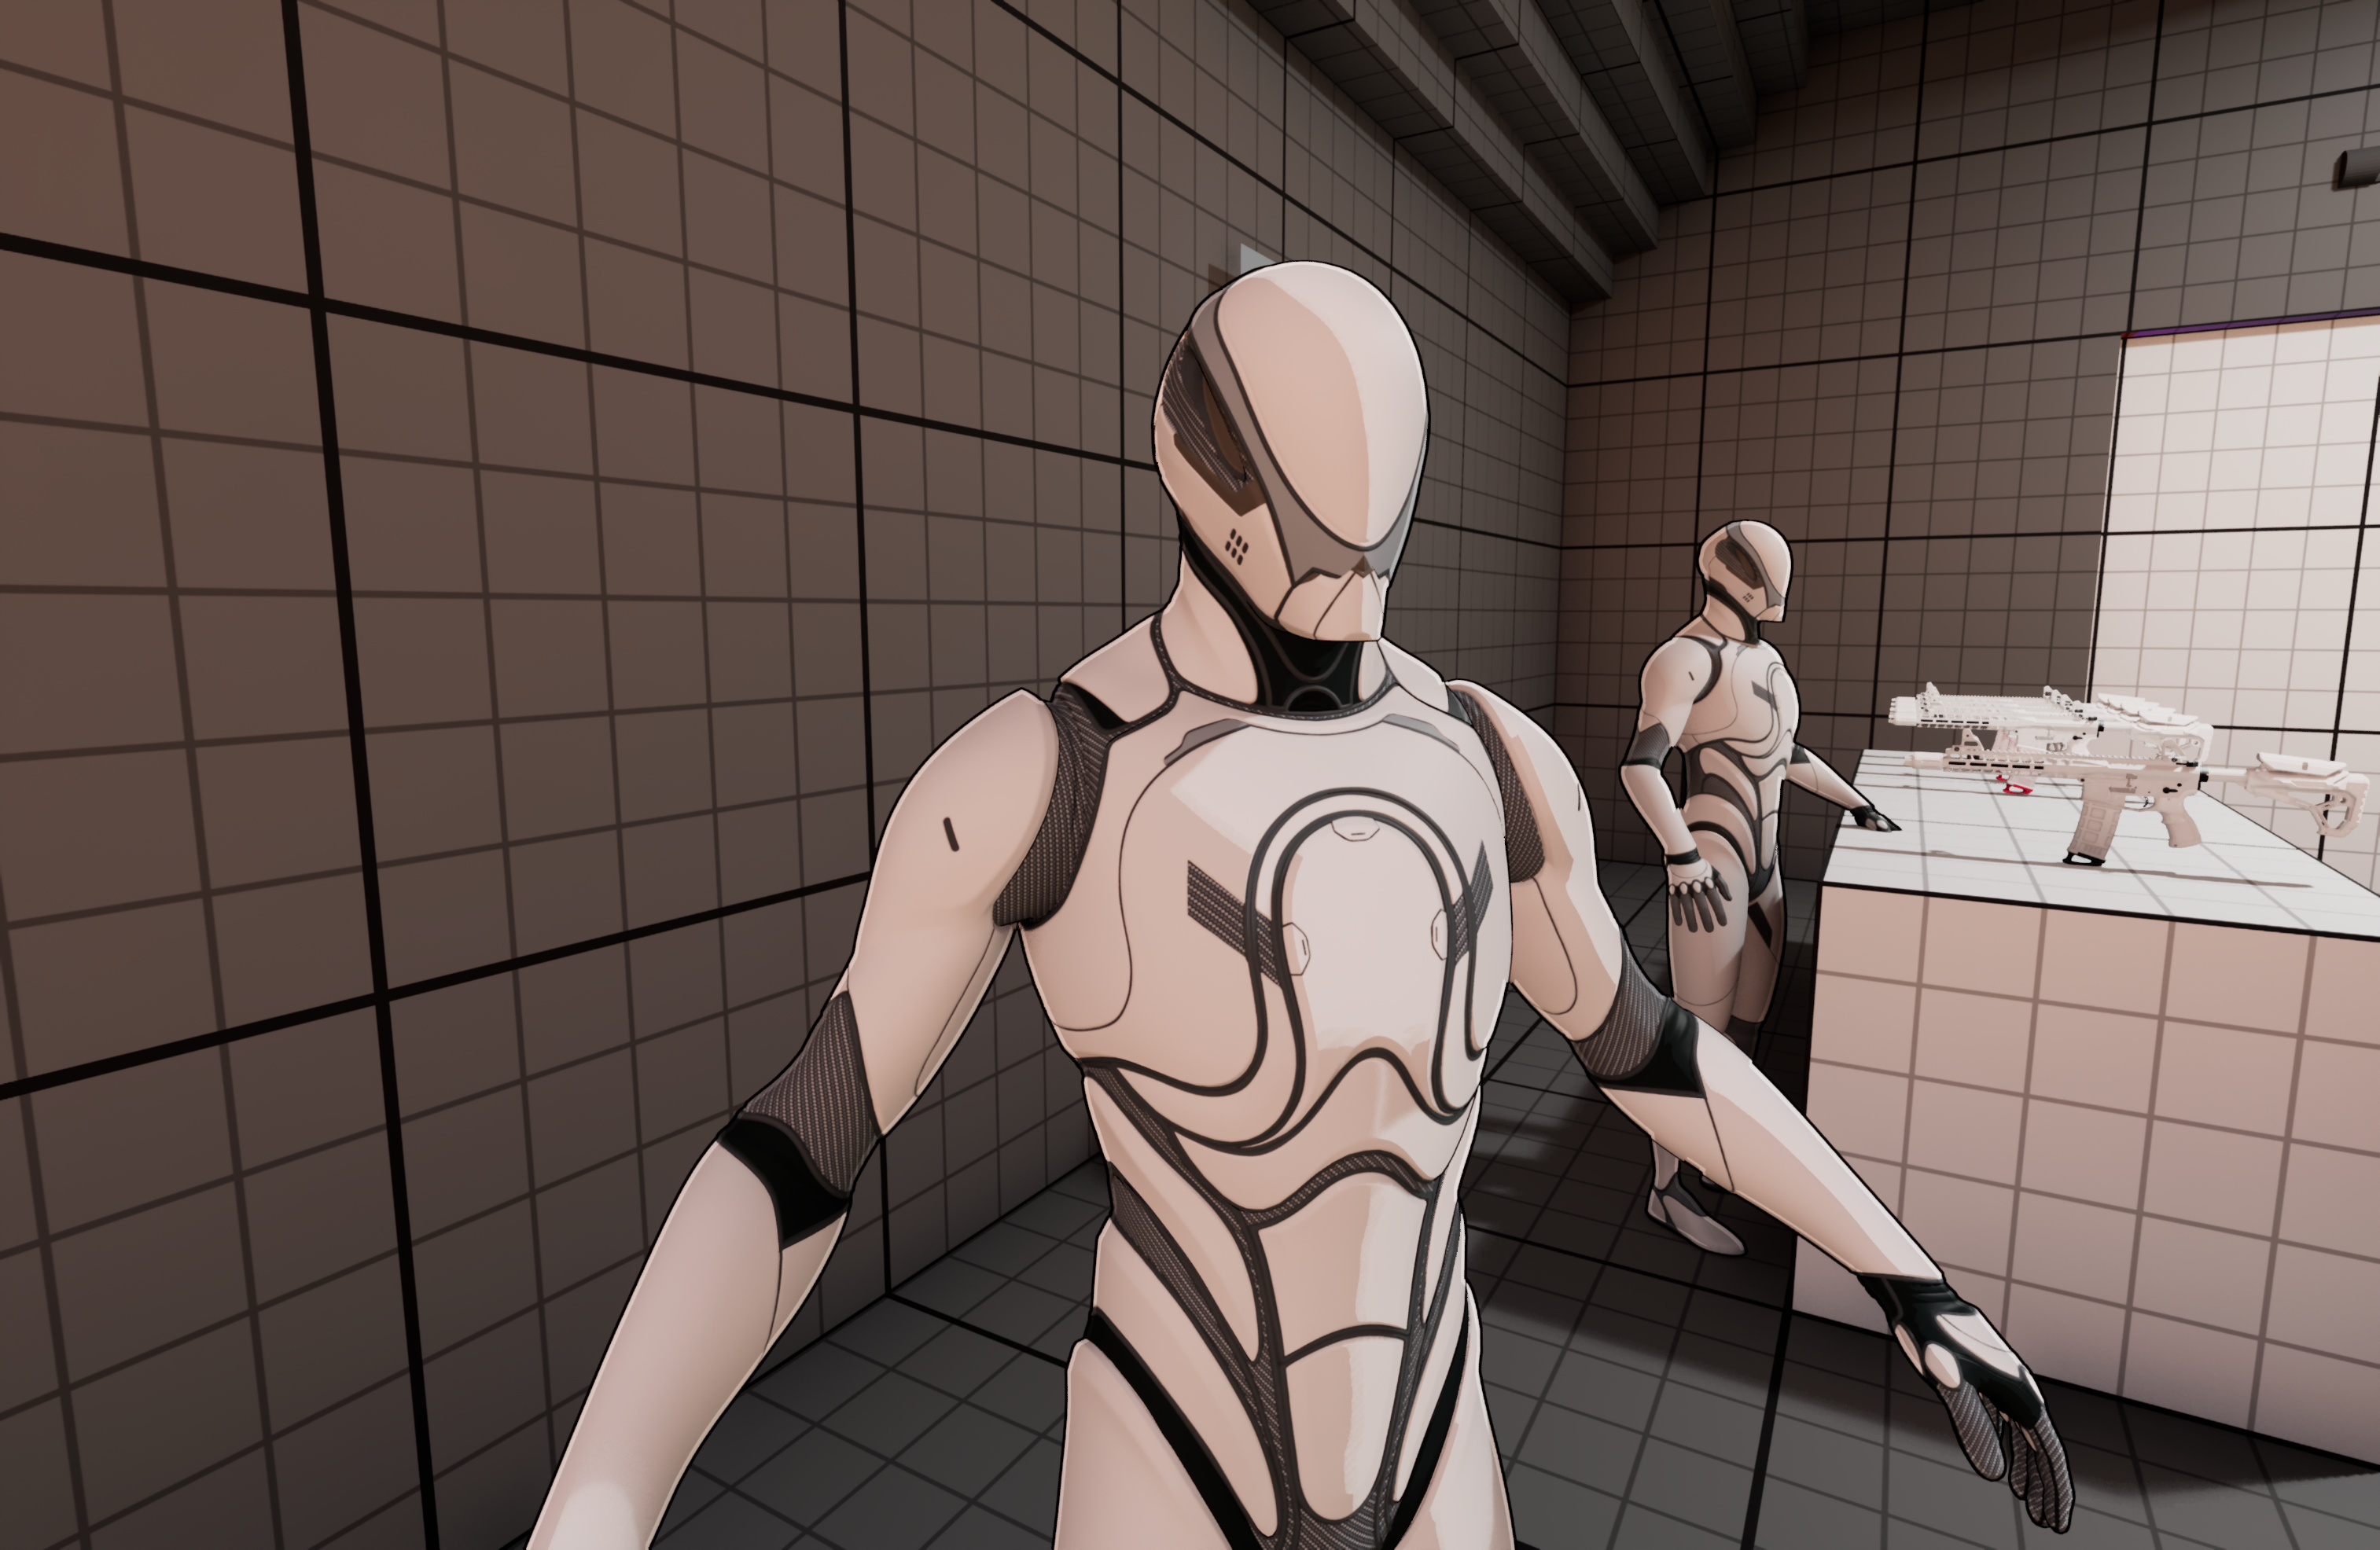
Conclusion
The deferred renderer in Unreal Engine provides a powerful framework for implementing complex shading techniques efficiently. By understanding and utilizing the various G-Buffer passes and modifying the lighting calculations, I was able to create a custom toon shader that offers substantial performance improvements without compromising on visual fidelity.
Stay tuned for more updates and detailed breakdowns of the techniques I used!