Toon Shading Part 2: Adding Anisotropic Shading in Unreal Engine
In Part 1, I explored the basics of implementing a toon shader using the deferred renderer in Unreal Engine. This time, I'll dive into anisotropic shading, a technique often used for rendering anime hair, which requires careful handling of normals and light interactions to achieve the desired look.
Understanding Anisotropic Shading
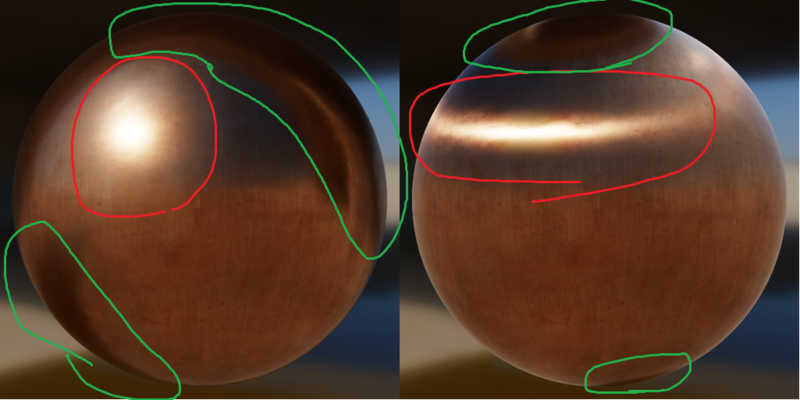
Anisotropic shading is a technique that simulates the directional properties of surfaces, such as hair or brushed metal. Unlike isotropic shading, which treats light uniformly across all directions, anisotropic shading varies based on the surface direction. This variation creates the characteristic streaks seen in hair or metal.

Implementing Anisotropic Shading
Step 1: Modifying the G-Buffer
First, we need to ensure that the G-Buffer can handle the additional information required for anisotropic shading. This involves modifying the shaders to include tangent and bitangent vectors, which represent the surface's directional properties.
// DeferredLightPixelShaders.usf
void DeferredLightPixelMain(
#if LIGHT_SOURCE_SHAPE > 0
  float4 InScreenPosition : TEXCOORD0,
#else
  float2 ScreenUV         : TEXCOORD0,
  float3 ScreenVector     : TEXCOORD1,
#endif
  // [...]
)
{
  const float2 PixelPos = SVPos.xy;
  OutColor = 0;
  // Retrieve the tangent and bitangent from the G-Buffer
  float3 T = GBuffer.Tangent;
  float3 B = GBuffer.Bitangent;

  float SurfaceShadow = 1.0f;
  float4 LightAttenuation = GetLightAttenuationFromShadow(InputParams, SceneDepth);
  float4 Radiance = GetDynamicLighting(DerivedParams.TranslatedWorldPosition, DerivedParams.CameraVector, ScreenSpaceData.GBuffer, ScreenSpaceData.AmbientOcclusion, ScreenSpaceData.GBuffer.ShadingModelID, LightData, LightAttenuation, Dither, uint2(InputParams.PixelPos), SurfaceShadow);
  OutColor += Radiance;
  // [...]
}
Step 2: Calculating Anisotropic Highlights
Next, we calculate the anisotropic highlights based on the tangent, bitangent, and normal vectors. The highlight intensity varies depending on the alignment of the light direction with these vectors.
// Calculate anisotropic highlights
float3 H = normalize(L + V);
float NoH = saturate(dot(N, H));
float ToH = saturate(dot(T, H));
float BoH = saturate(dot(B, H));
float anisotropicTerm = pow(NoH, roughness) * (pow(ToH, roughness) + pow(BoH, roughness));
Step 3: Integrating with Lighting Model
Integrate the anisotropic term into the lighting calculations. This ensures that the anisotropic properties affect the final shading of the surface.
Lighting.Diffuse = Diffuse_Lambert(GBuffer.DiffuseColor) * anisotropicTerm;
Lighting.Specular = Specular_GGX(GBuffer.SpecularColor, roughness, NoV) * anisotropicTerm;
Ensuring Proper Interaction with Normals
It’s crucial that the anisotropic shading interacts correctly with the surface normals. This involves ensuring that the normals are accurately represented in the G-Buffer and that the shading calculations respect these normals.
float3 N = GBuffer.WorldNormal;
float3 T = GBuffer.Tangent;
float3 B = GBuffer.Bitangent;

// Recalculate view vector
float3 V = -normalize(mul(float3(ScreenPosition, 1), DFToFloat3x3(PrimaryView.ScreenToWorld)).xyz);

// Calculate anisotropic highlights
float3 H = normalize(L + V);
float NoH = saturate(dot(N, H));
float ToH = saturate(dot(T, H));
float BoH = saturate(dot(B, H));
float anisotropicTerm = pow(NoH, roughness) * (pow(ToH, roughness) + pow(BoH, roughness));
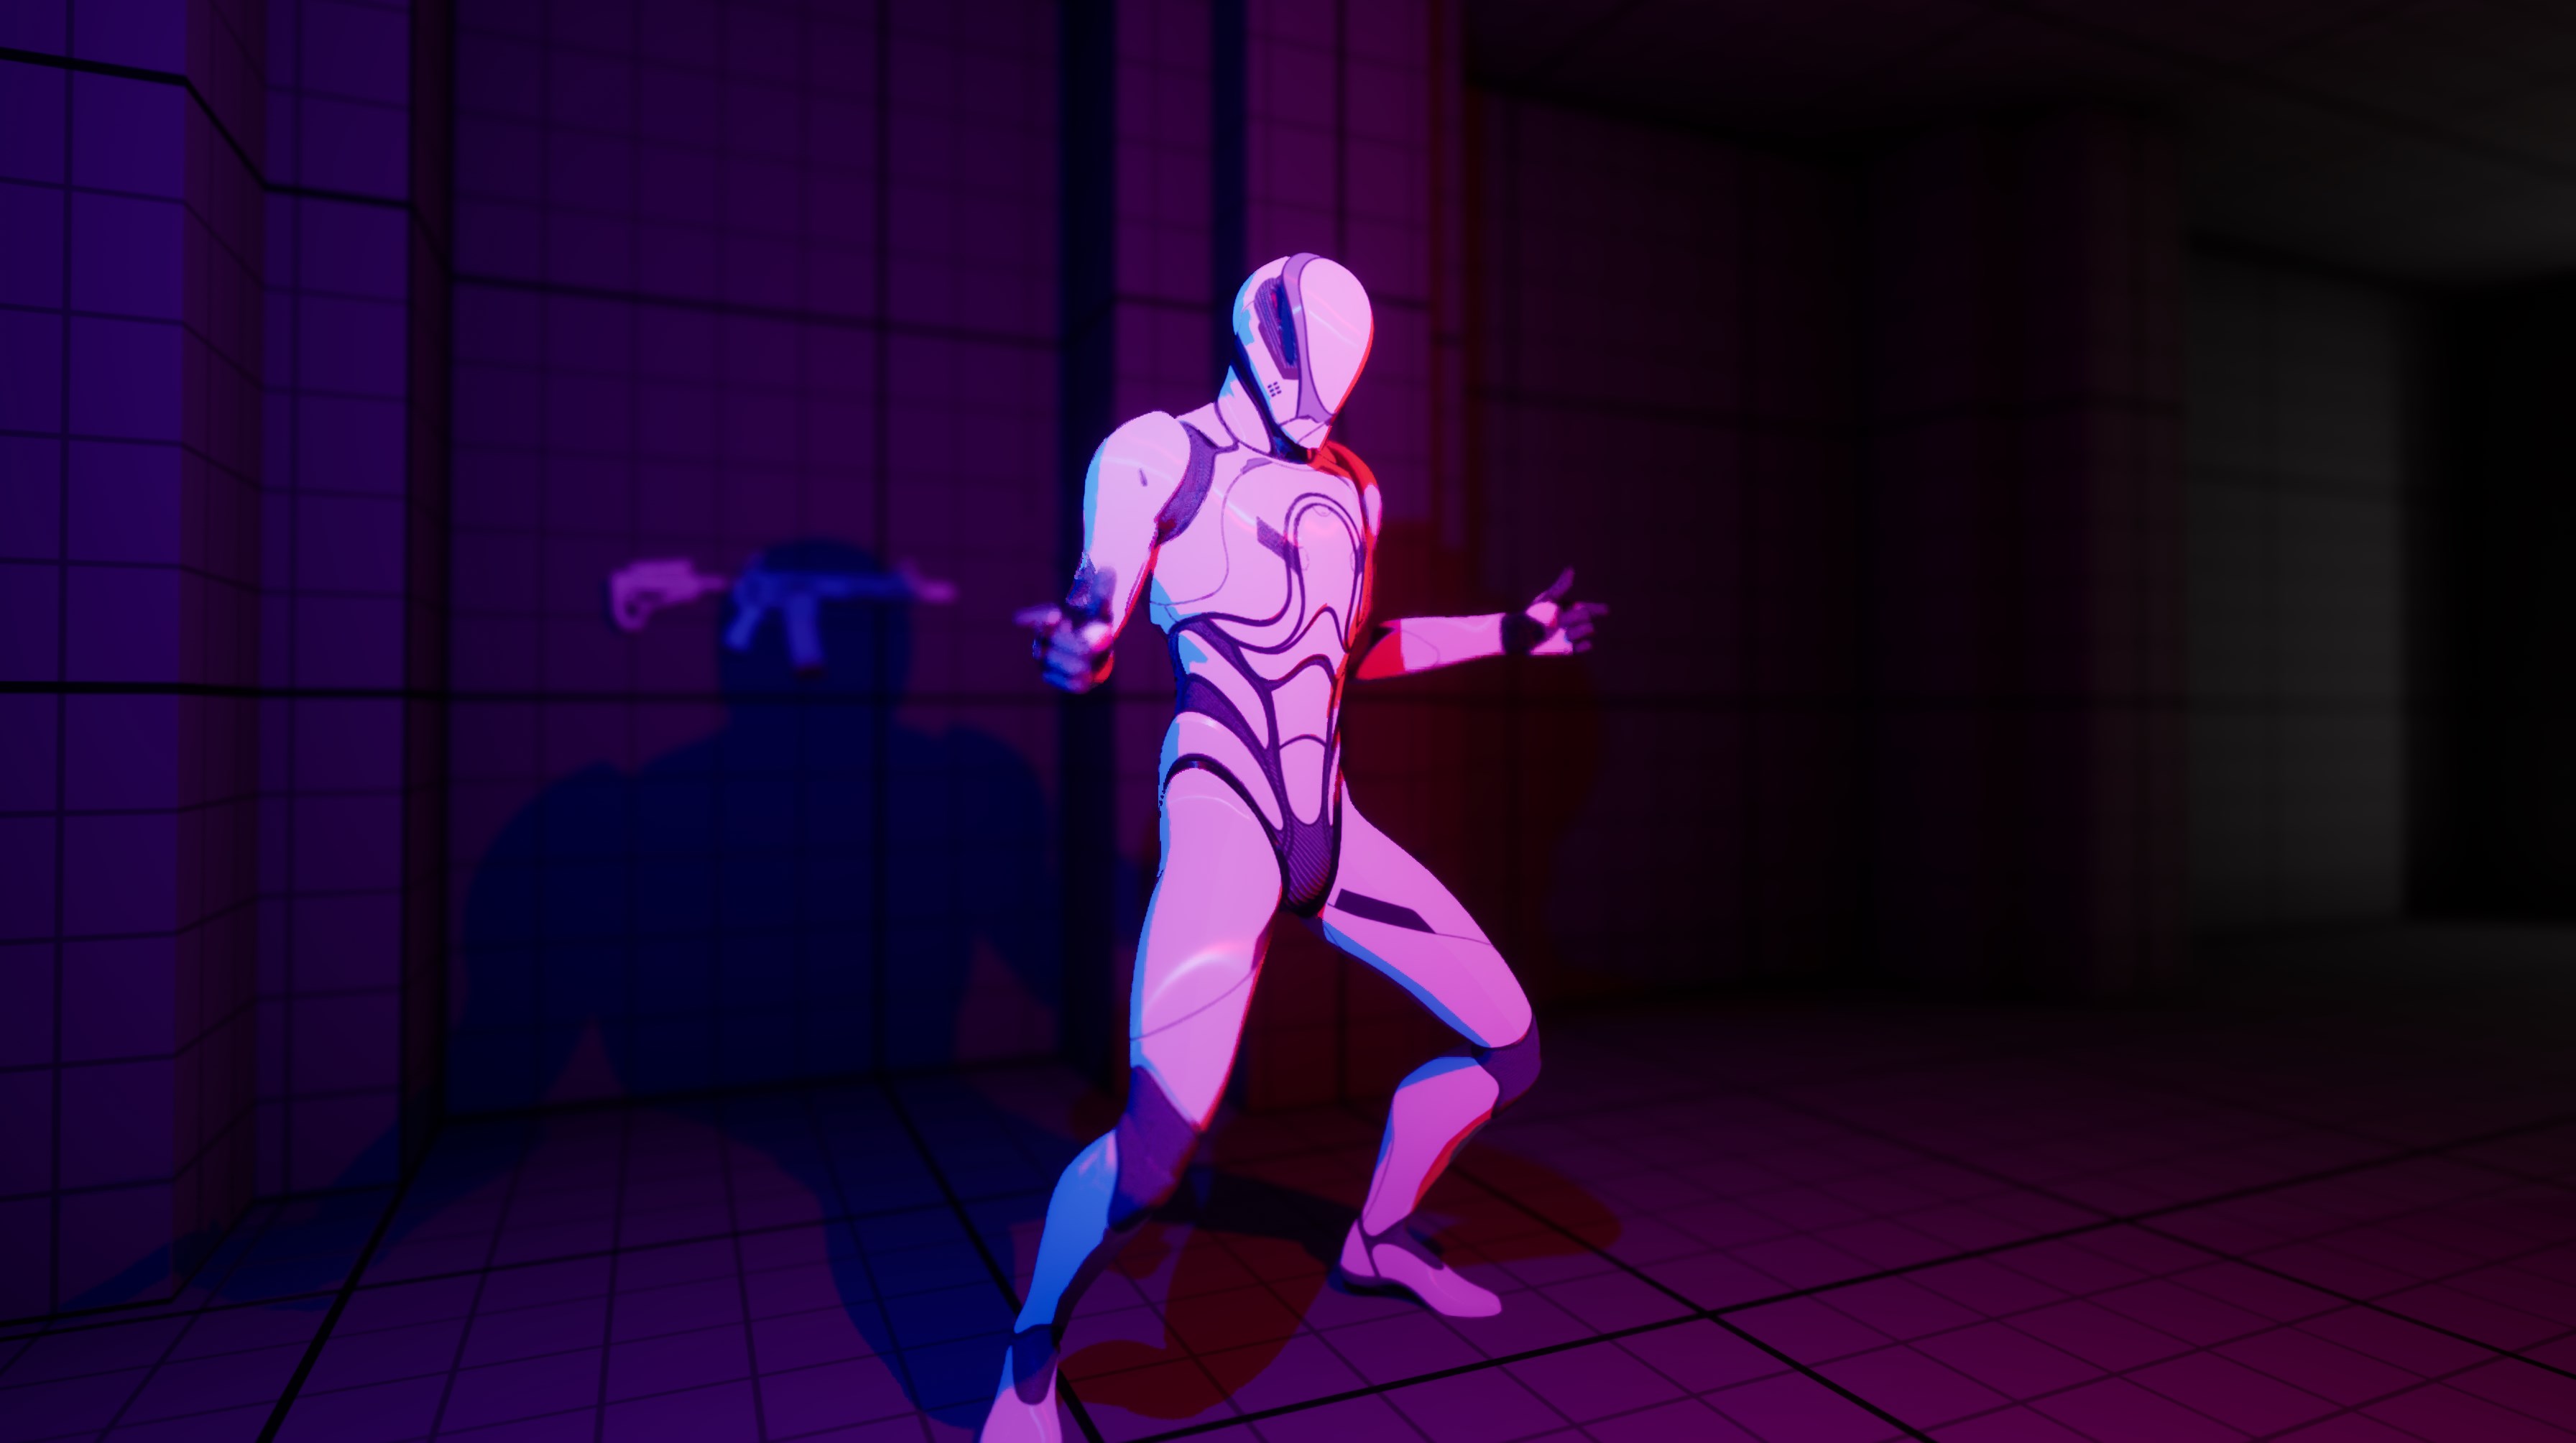
Examples of Anisotropic Shading

